

Museum-Inspired Frames
A how-to guide + all of my favorite picture frames

ORIGINALLY PUBLISHED JANUARY 4TH, 2025
I’ve been sharing some videos—see the playlist here—that highlight my mat board customization process. So glad to see they’ve been helpful! While you can always reference the Objects page for quick links to everything I’ve mentioned, I wanted to make sure I compiled all of the info in one spot to reference whenever you need.
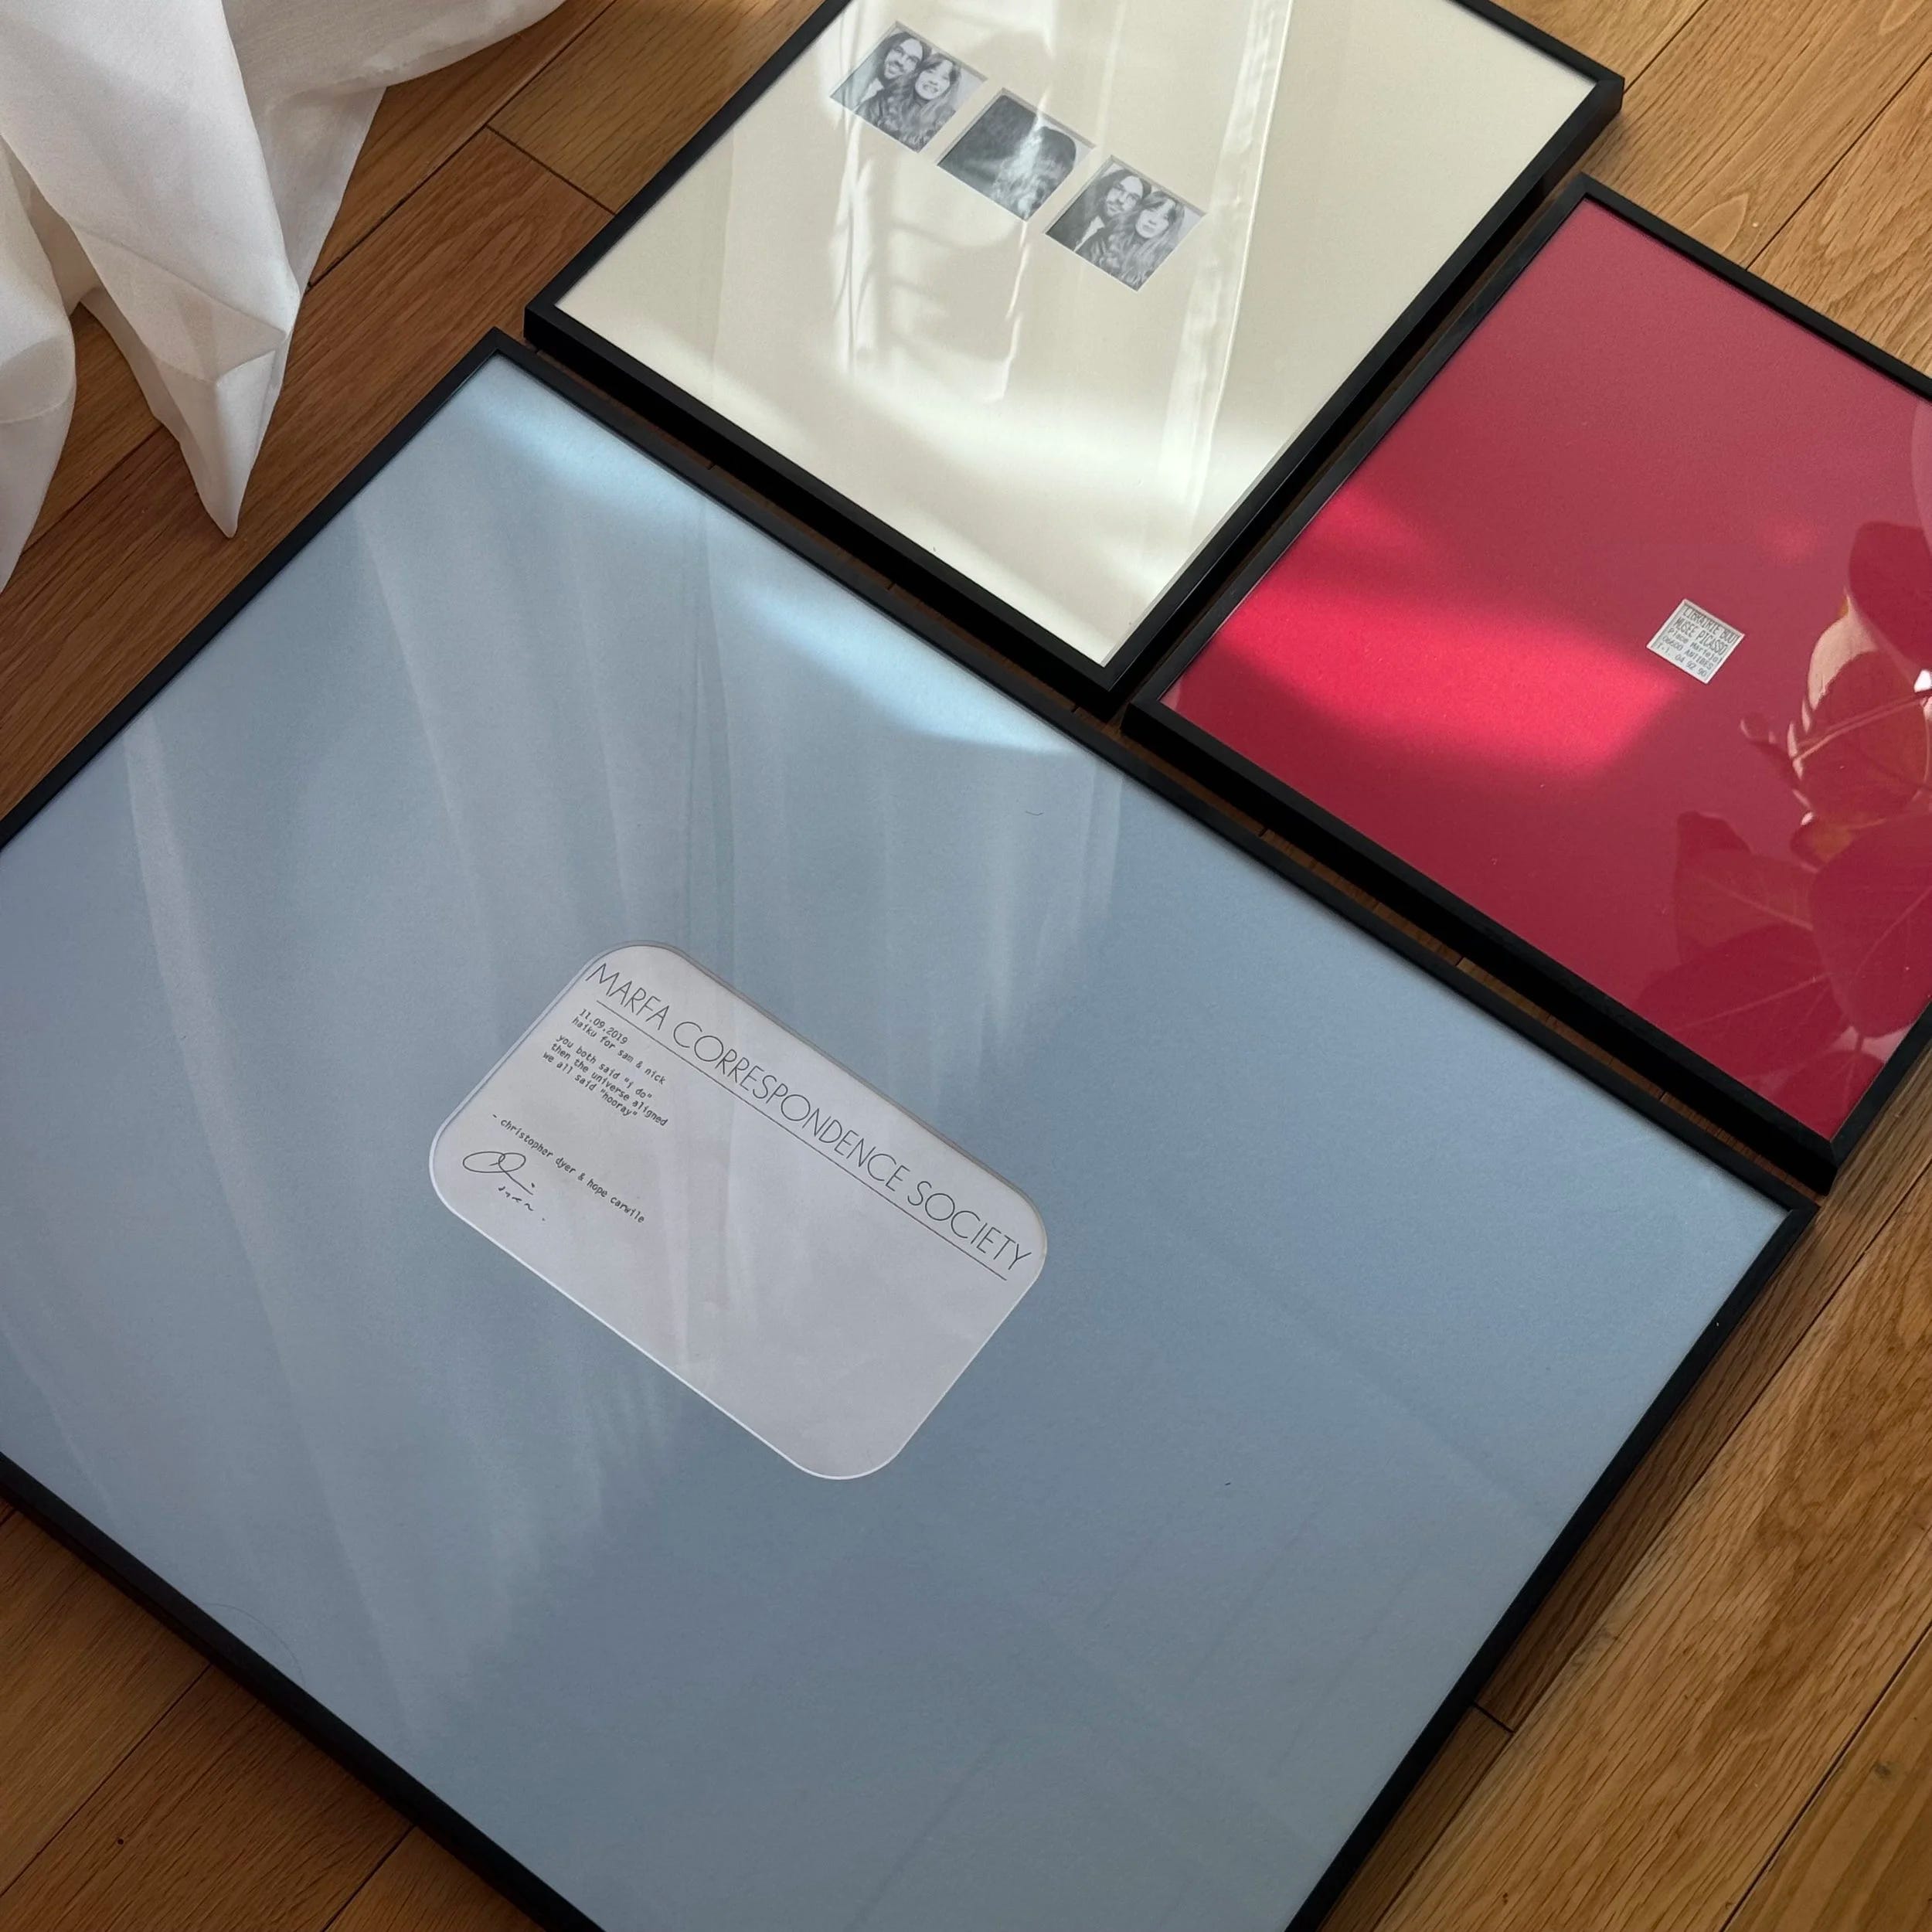
You can read on to see how I customize my framed photos and art (and scroll further down for a list of my go-to picture frames for a chic gallery wall, inspired by pieces from museum visits over the years.)
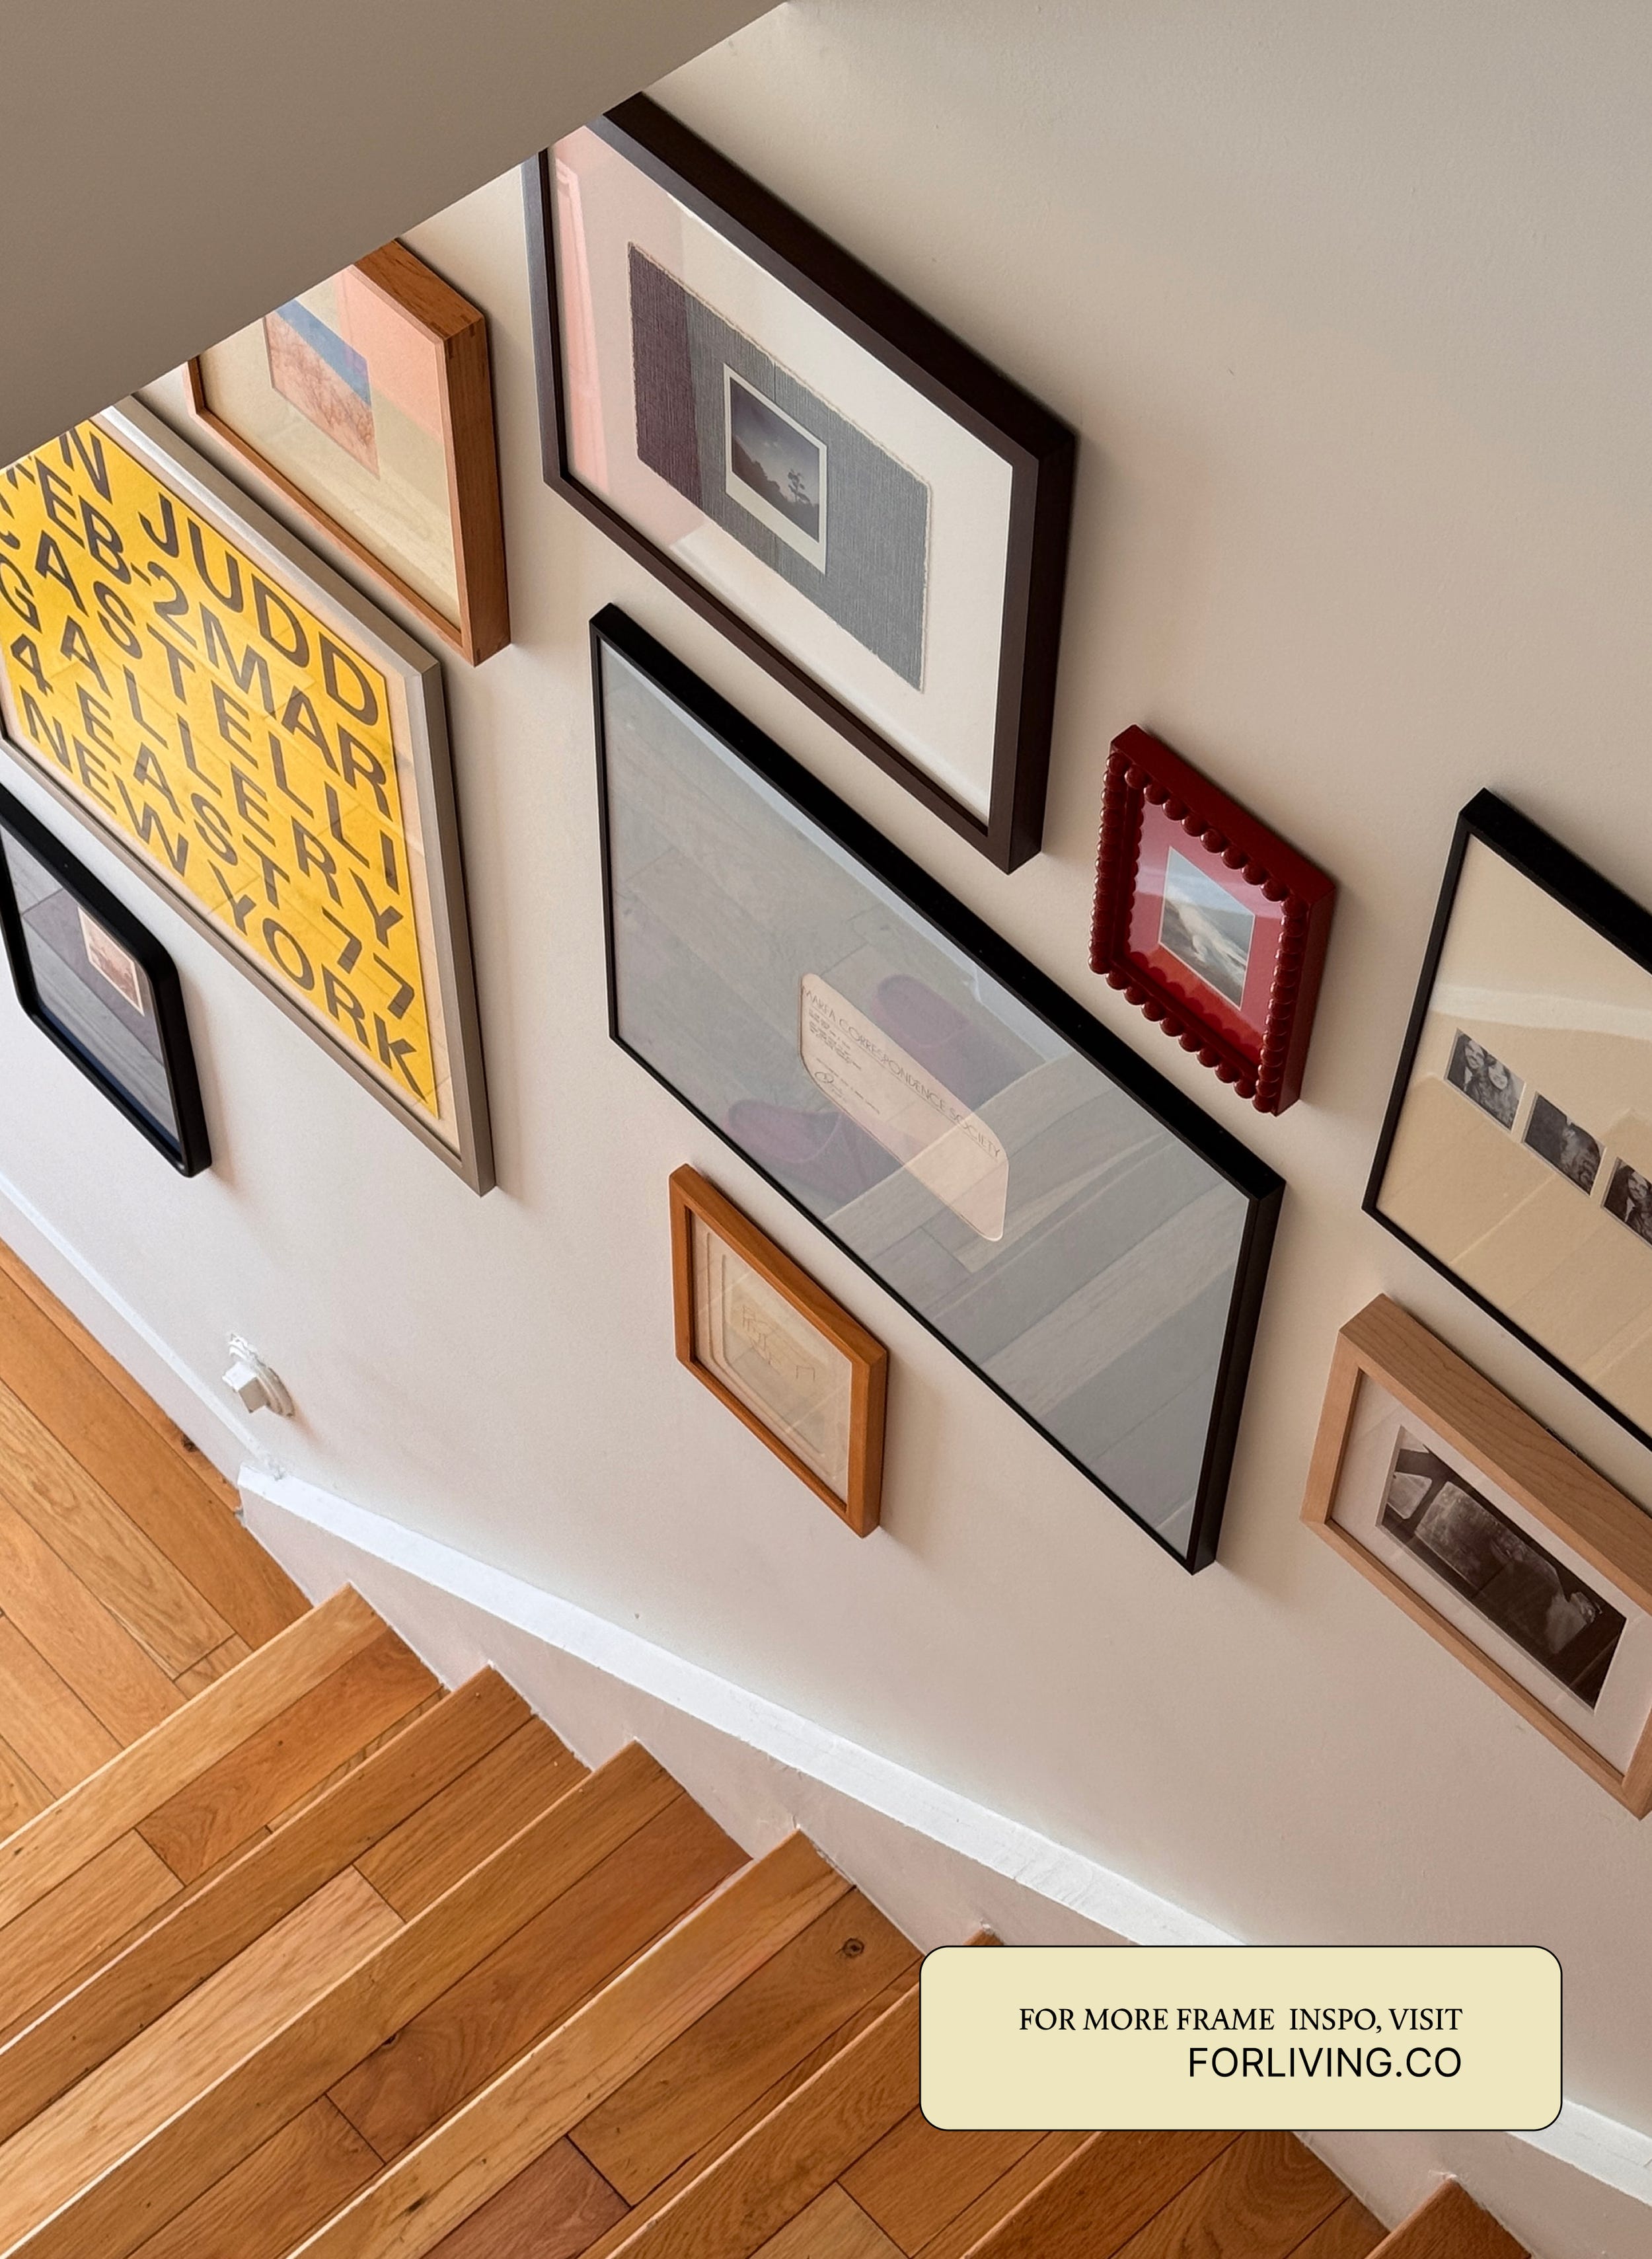
SOME OF MY FRAME INSPO FROM MUSEUM VISITS


IF YOU DON’T WANT TO DIY
For customizable options that can be ordered from one place vs. the DIY frames you’ll see below, head to this post instead!
HOW I MOCK THINGS UP
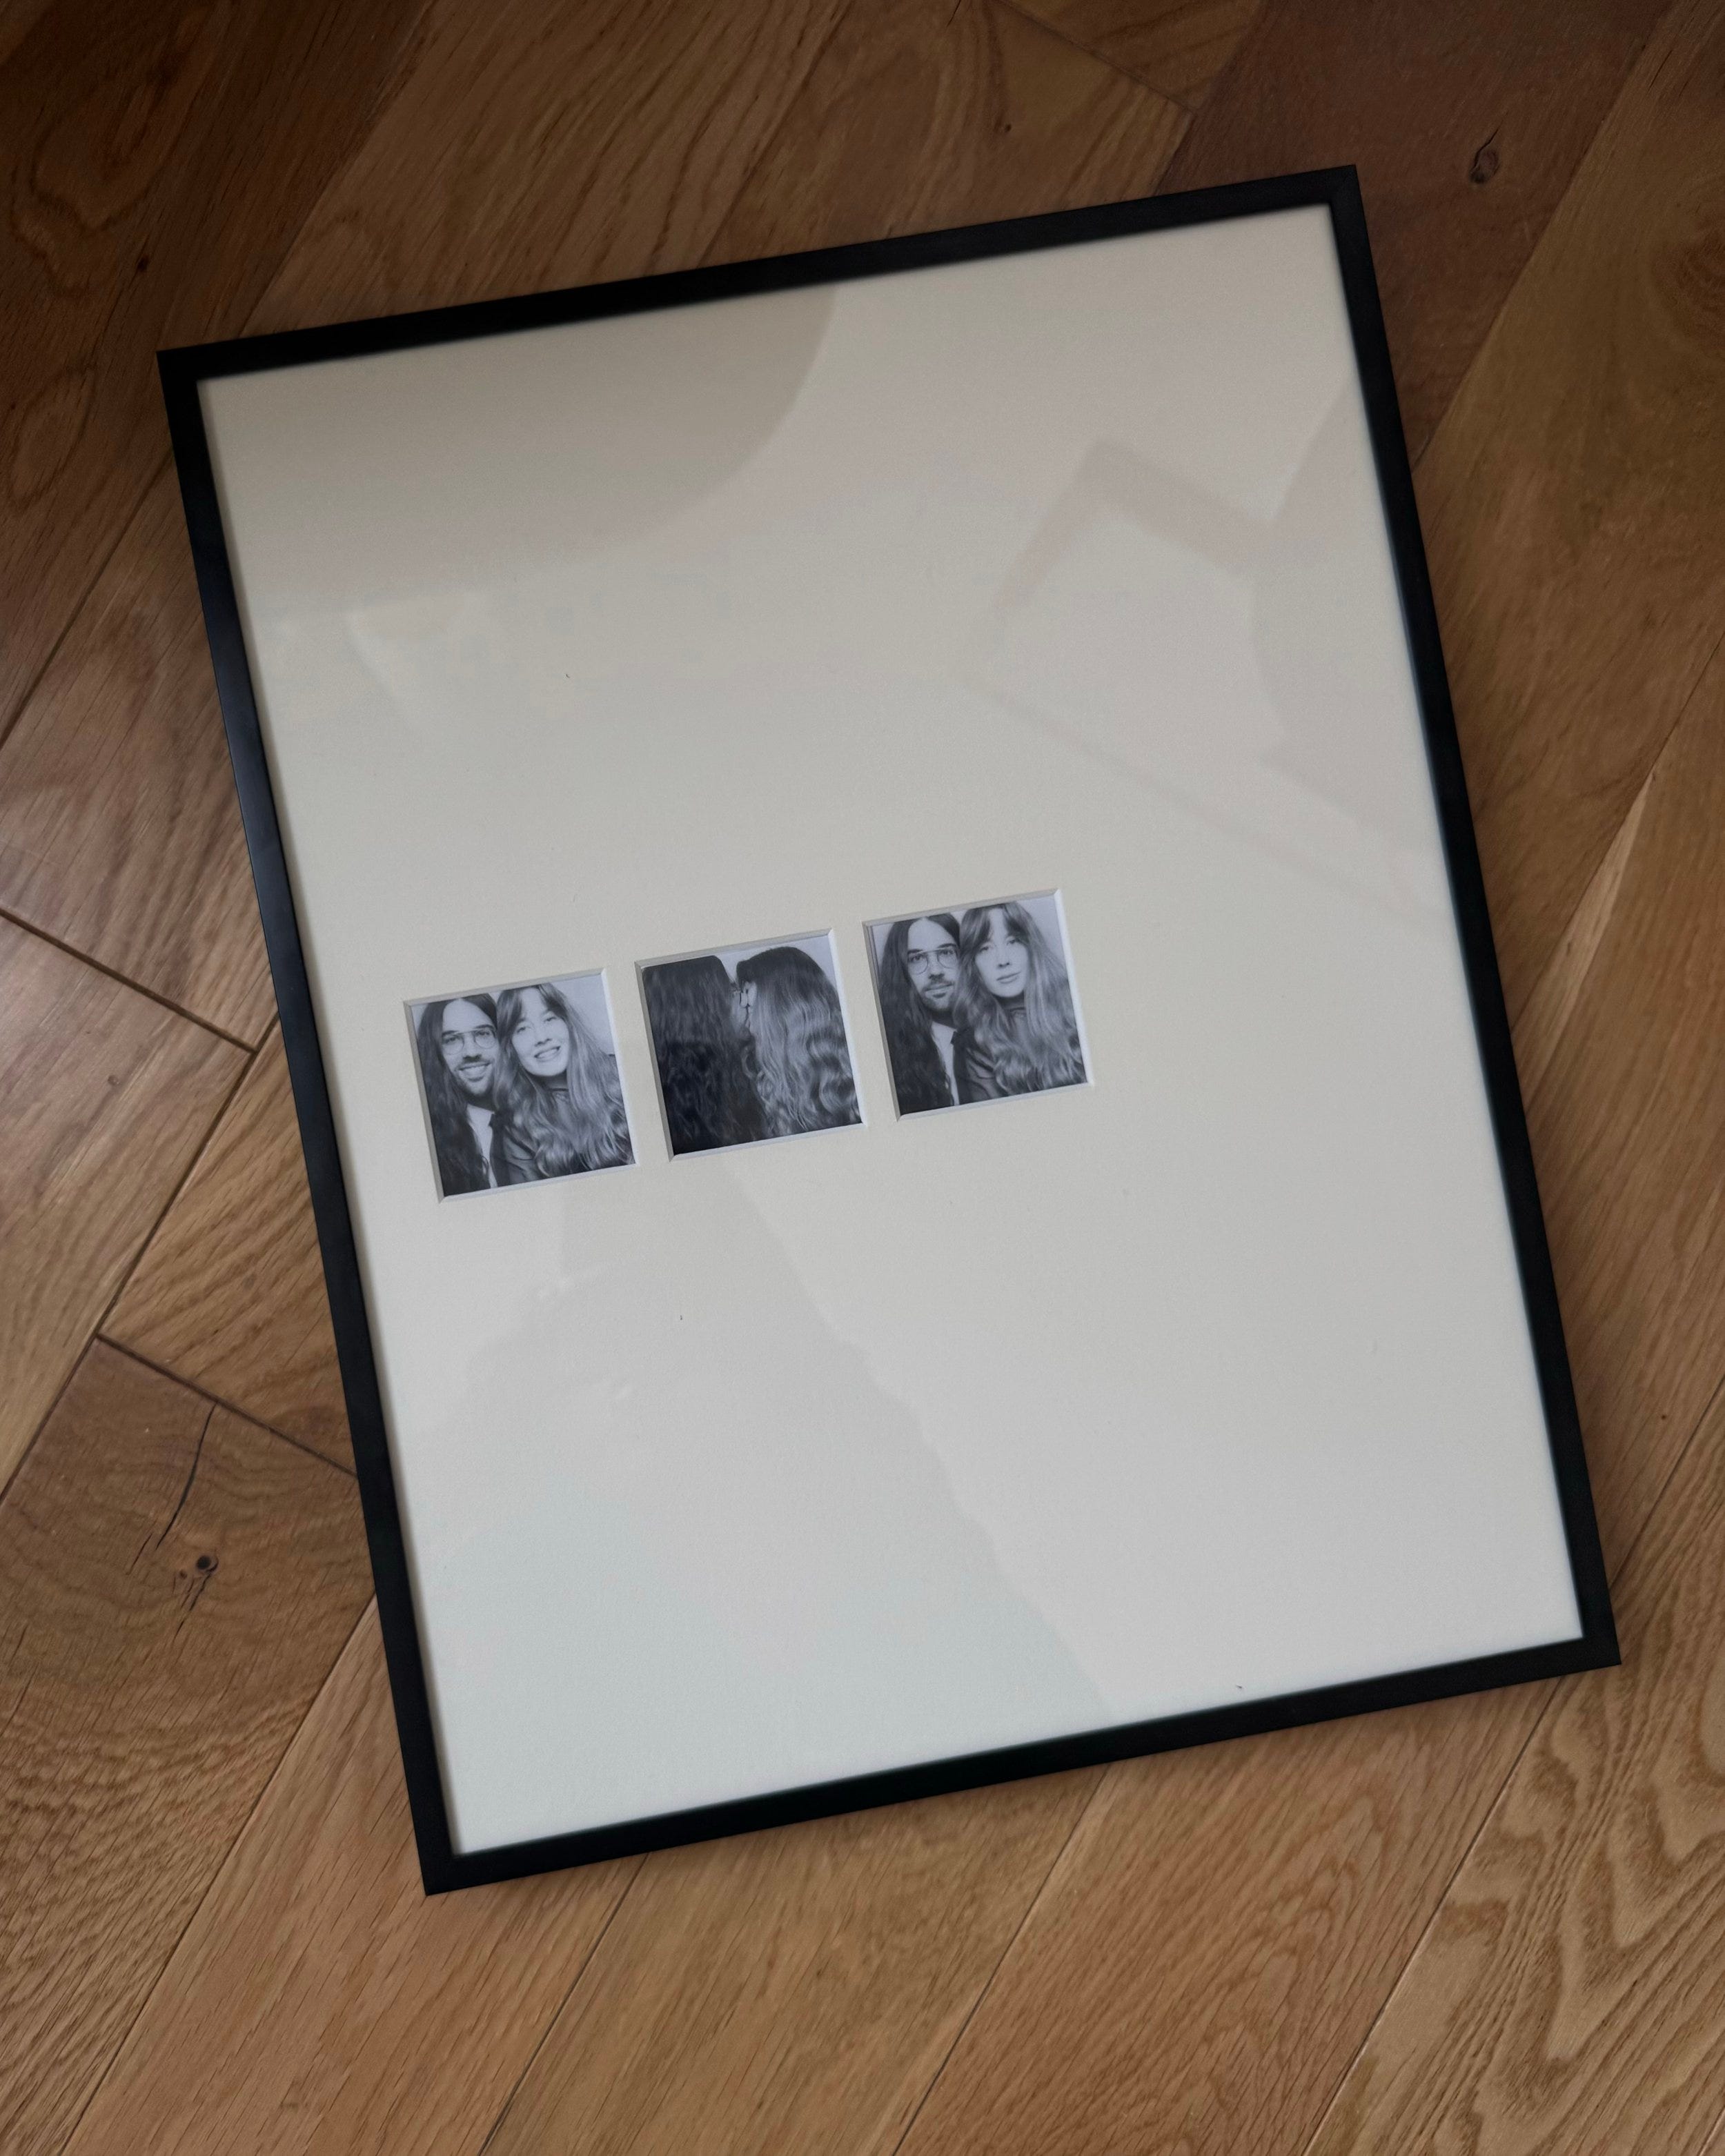
First, I make a mockup in Figma that outlines where I want the photo openings to be—you can do this using any design platform or sketch it out on paper, and you can watch this video for an example for the above photo, or watch this video to see more recent examples.
FAVORTIE FRAME & MAT COMBO
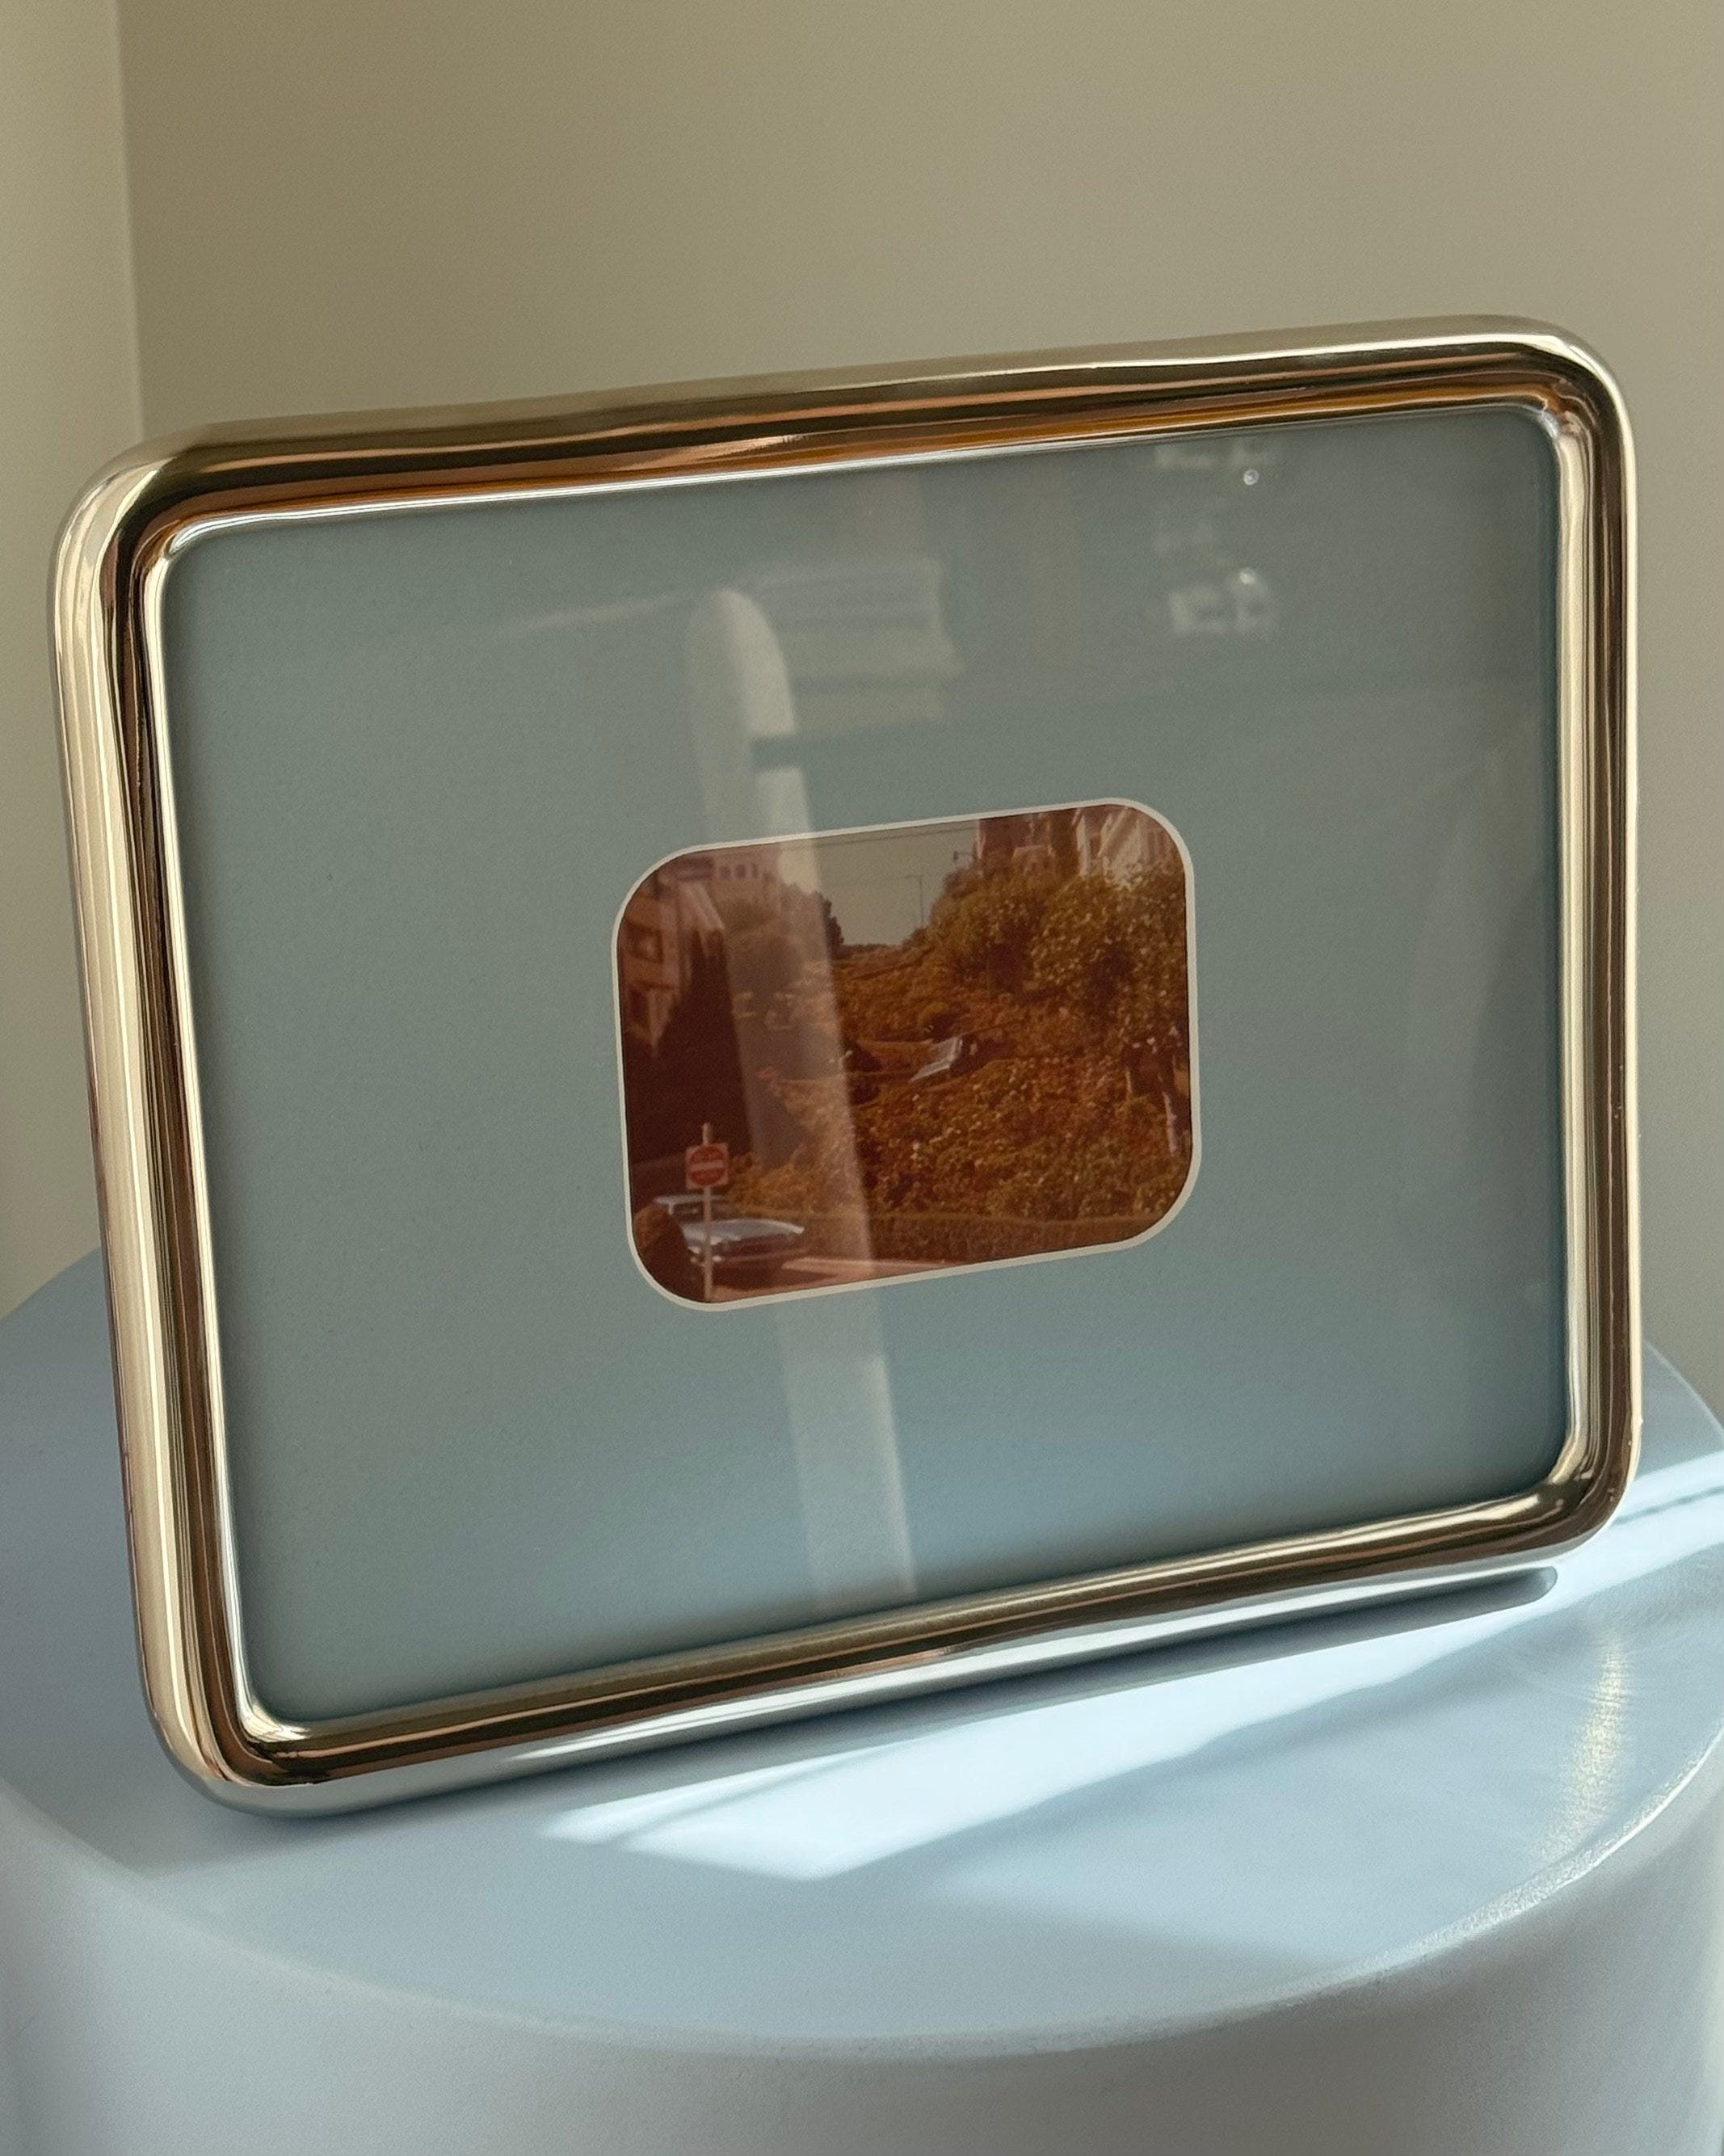
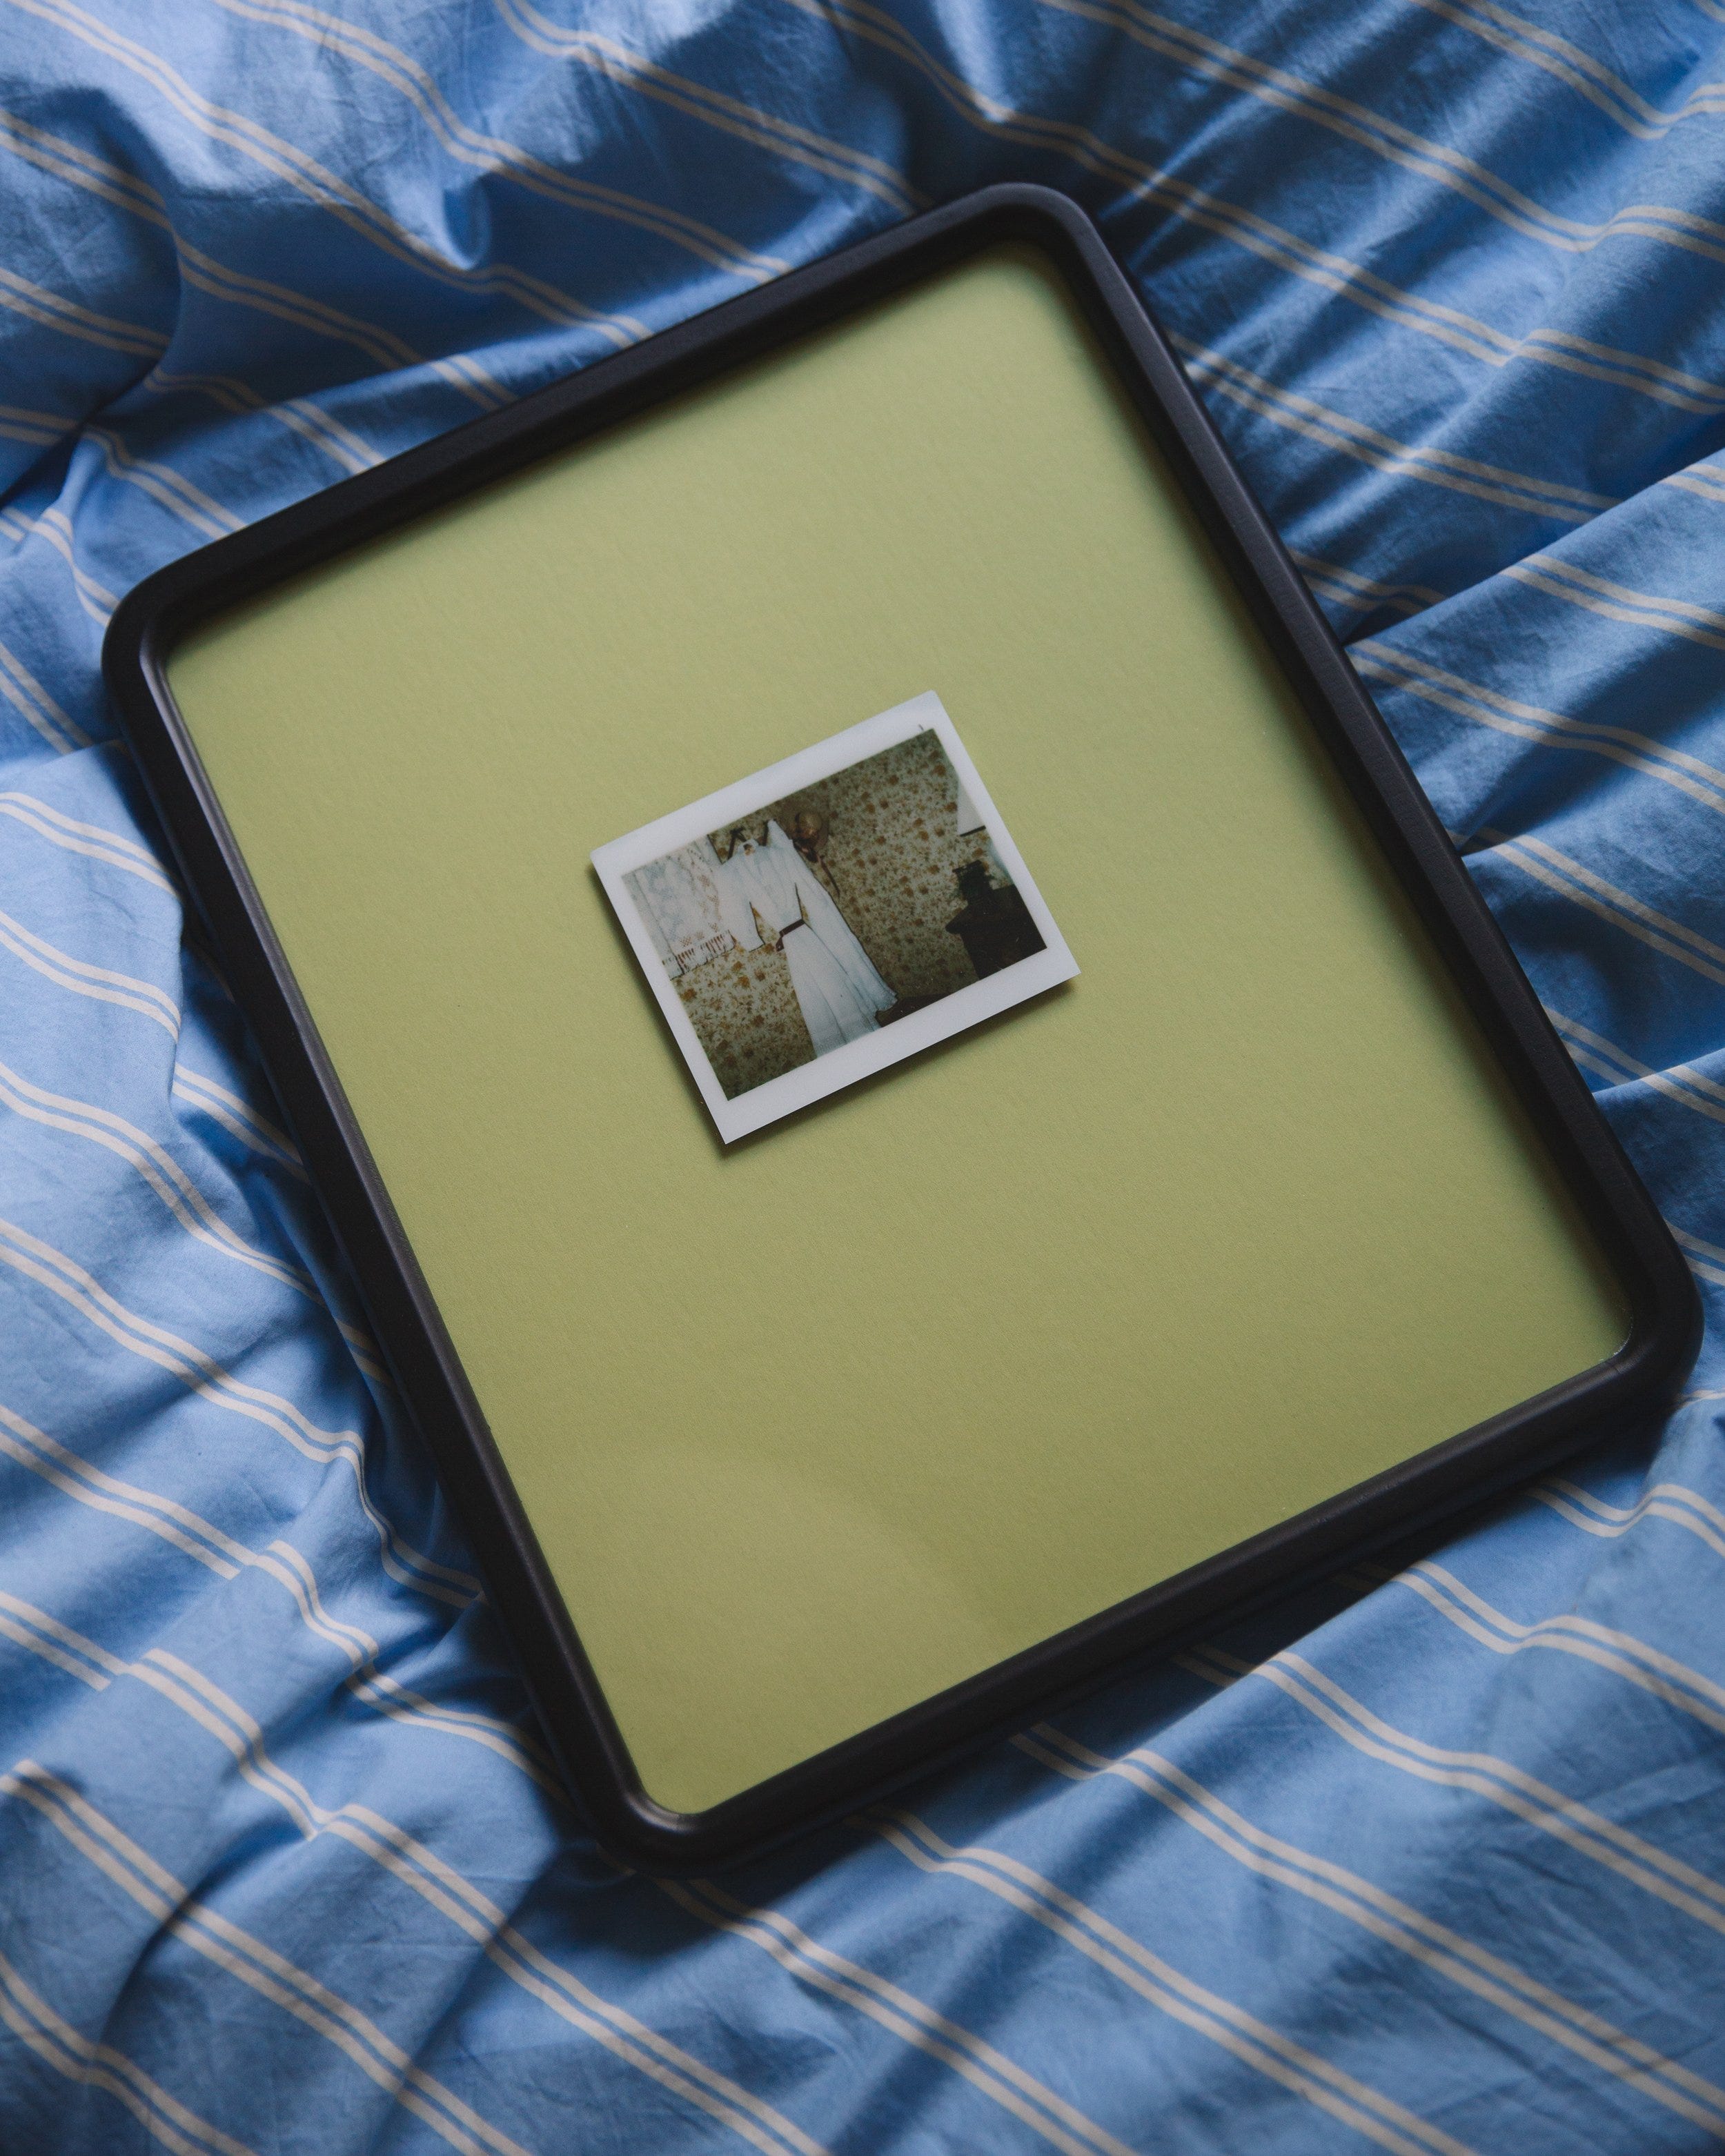
My favorite frame and mat combo at the moment: I chose the largest frame and went with a photo of Lombard Street that one of my grandparents took in the 1970s: the photo had rounded corners as it was, so I chose a rounded corner mat as well—you can just ask for the window opening to be rounded.
MAT BOARDS
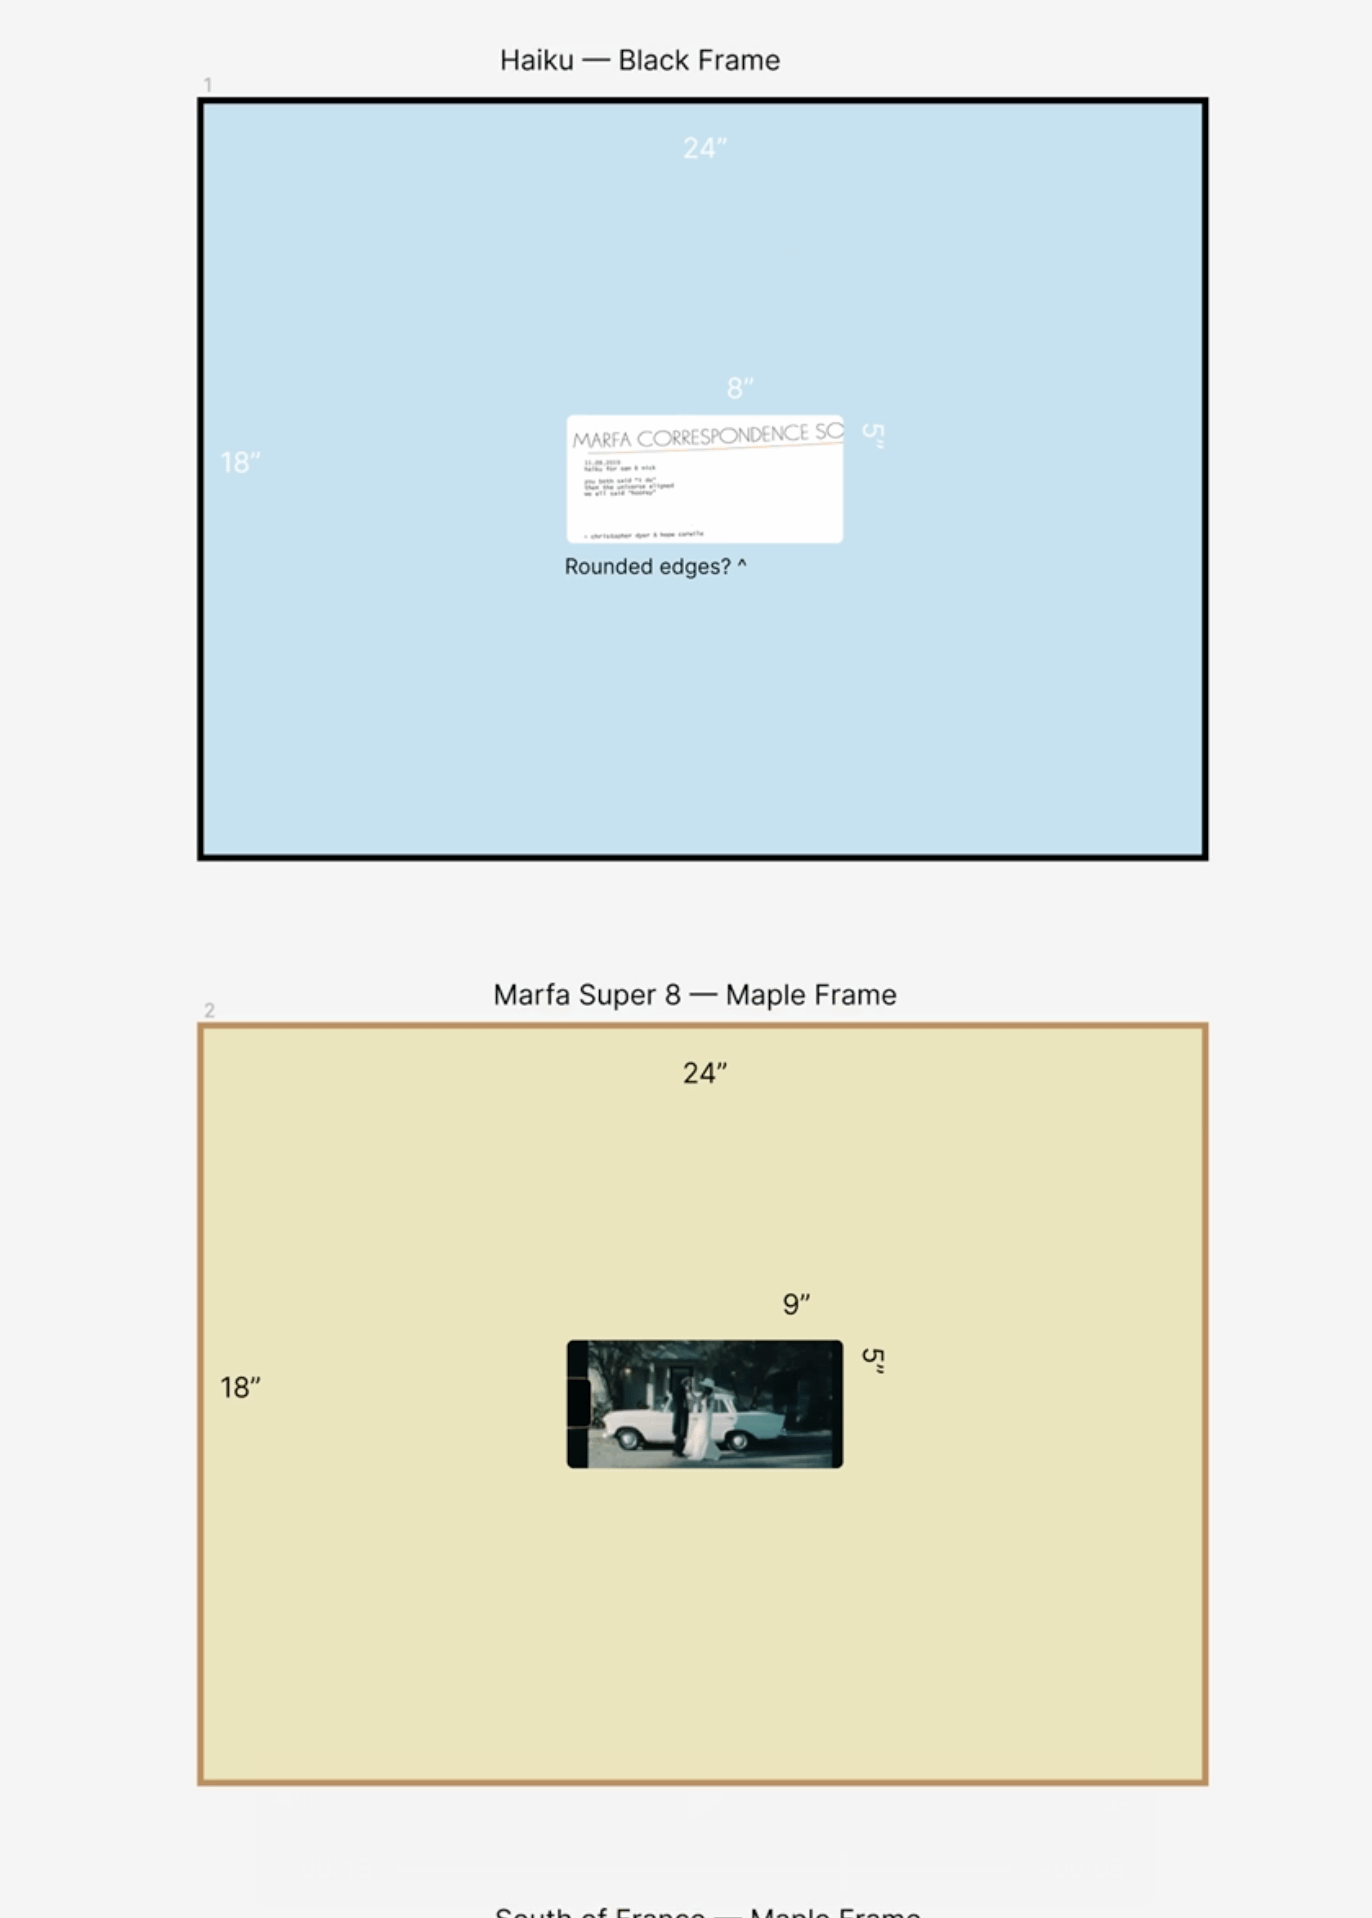
I’ve loved using this Etsy shop for custom mat boards: they have dozens of colors and sizes to choose from. For instance, with this 8x11 frame, I chose an 8x11 mat board from this shop and added custom measurements for the openings and their placements in the description box. You can also send the shop owner a direct message with your mockup and reference it when you place an order if you’re doing something more precise with multiple photos.
IF YOU WANT TO FLOAT-MOUNT
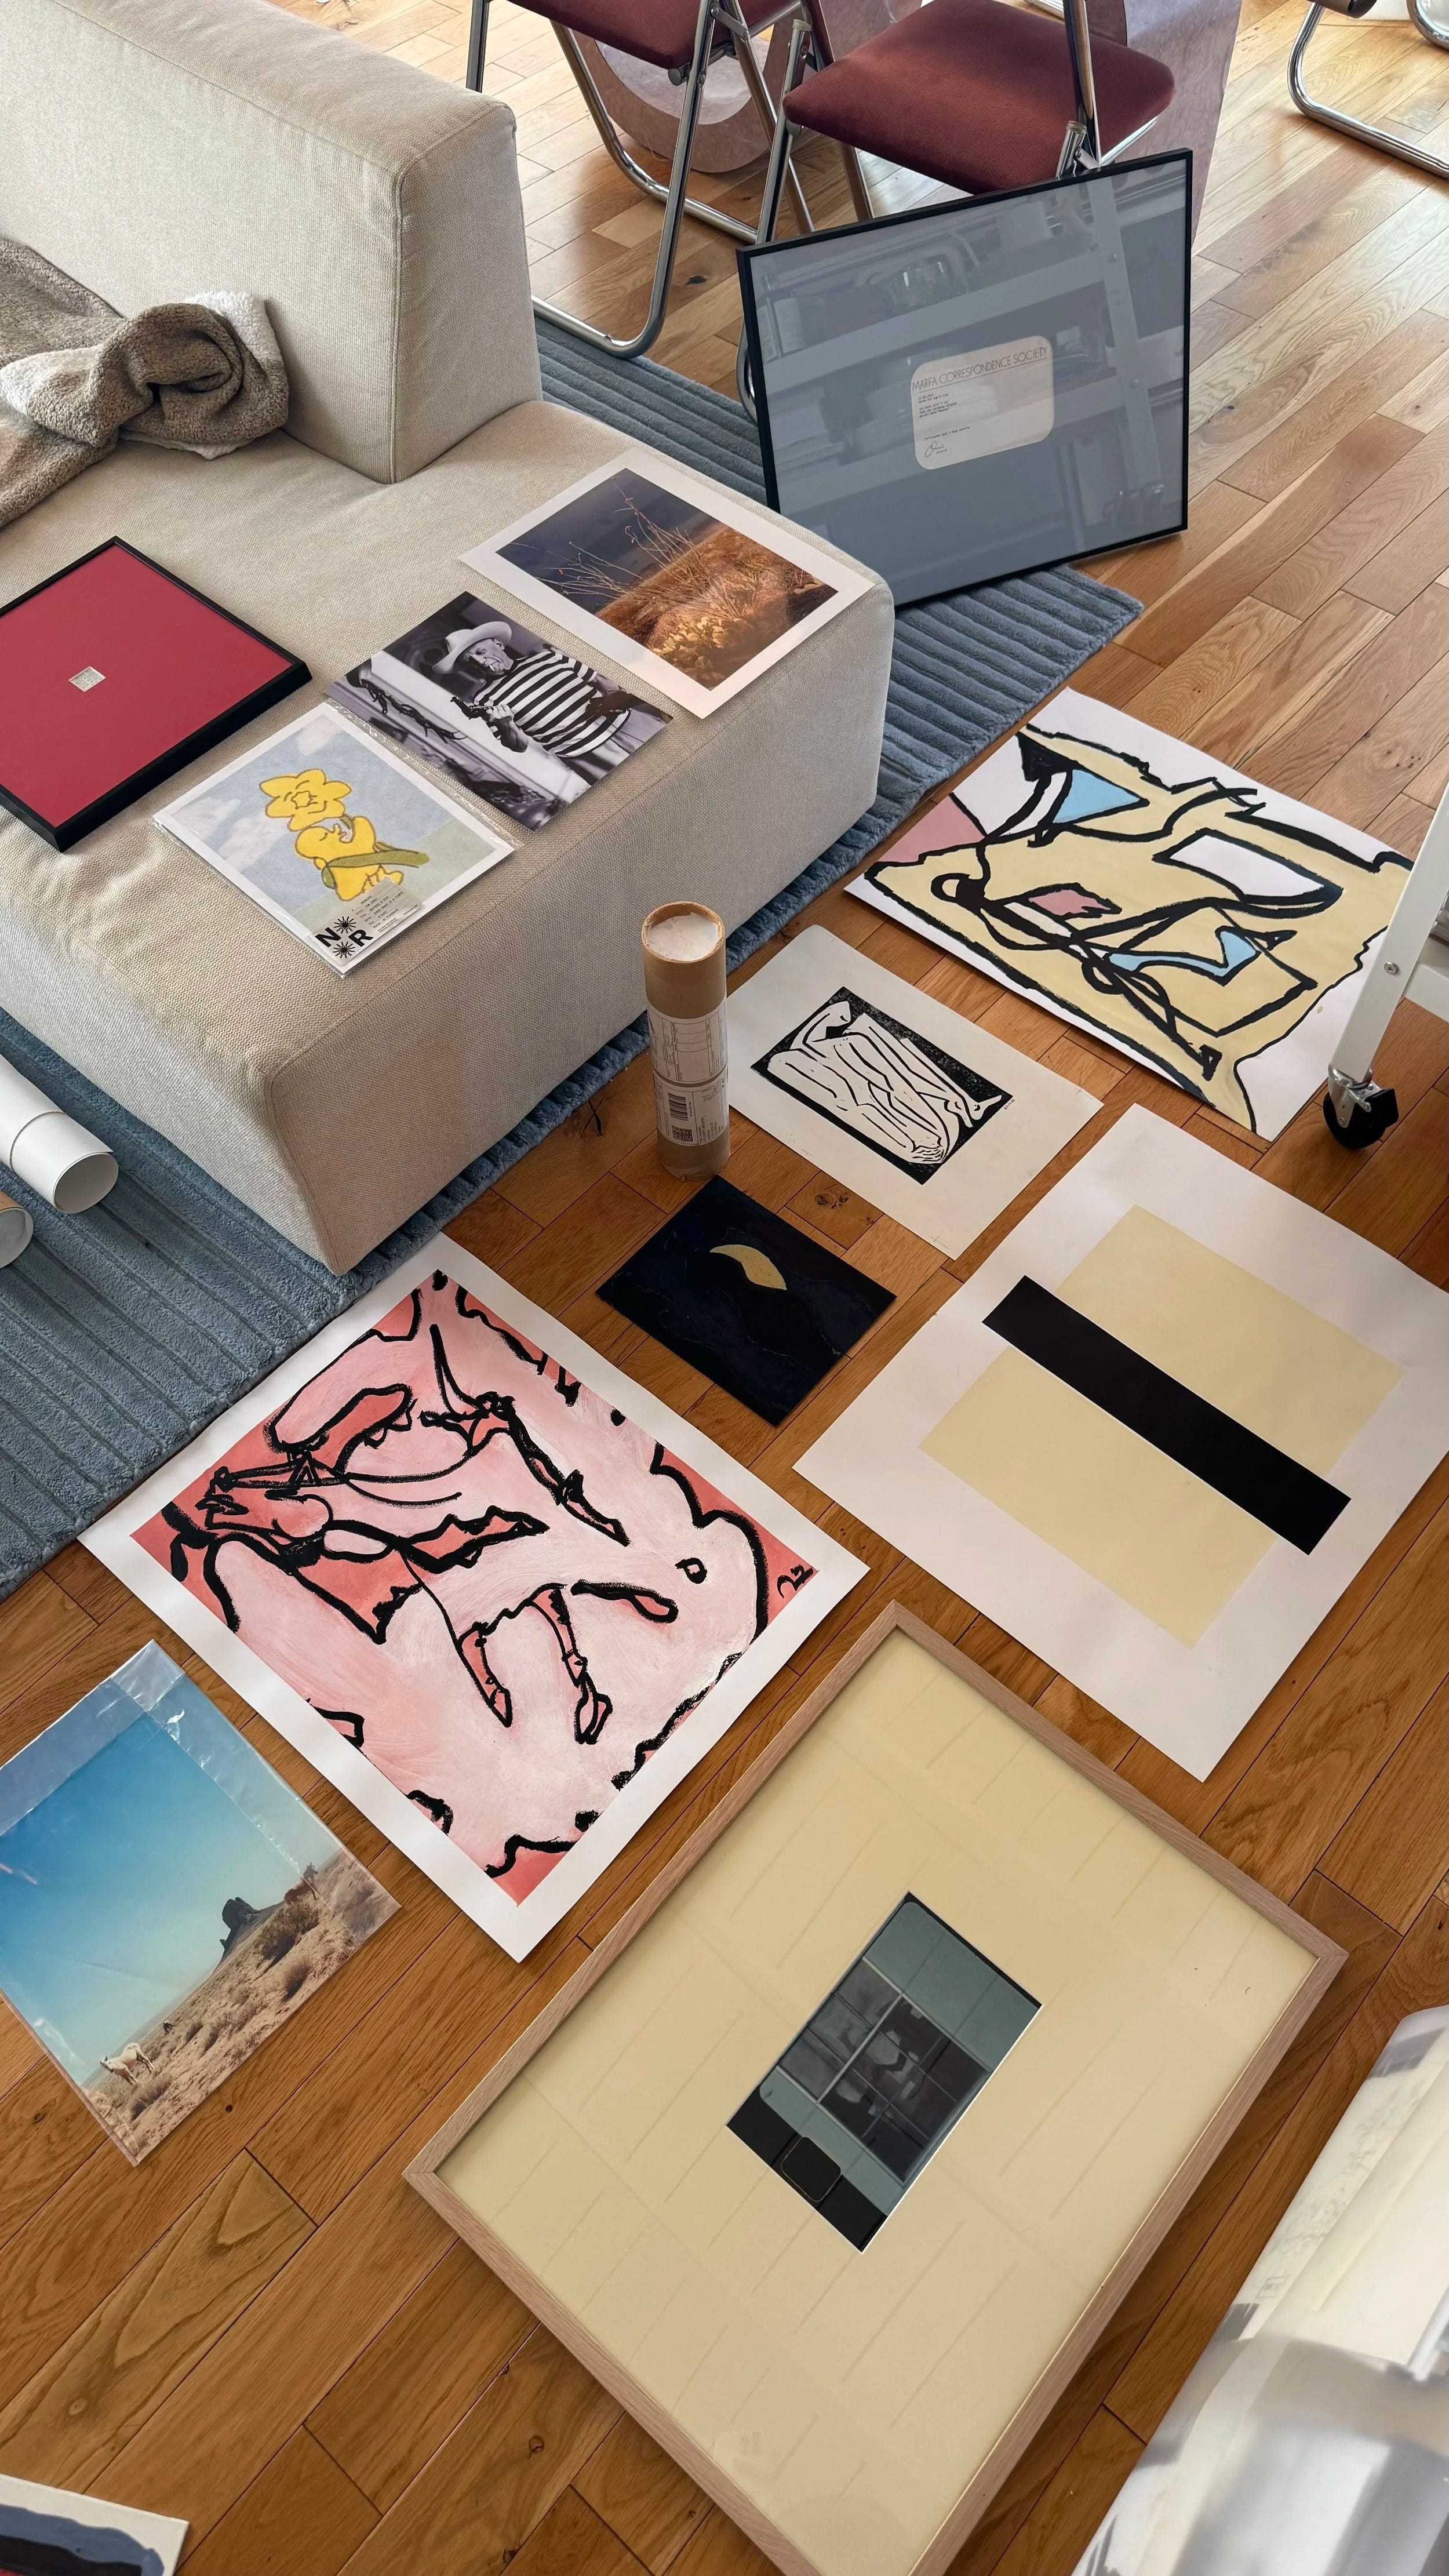
For float-mounted photos, I attach photos to this foam core, then place them on blank mat boards.
FAVORITE PICTURE FRAMES
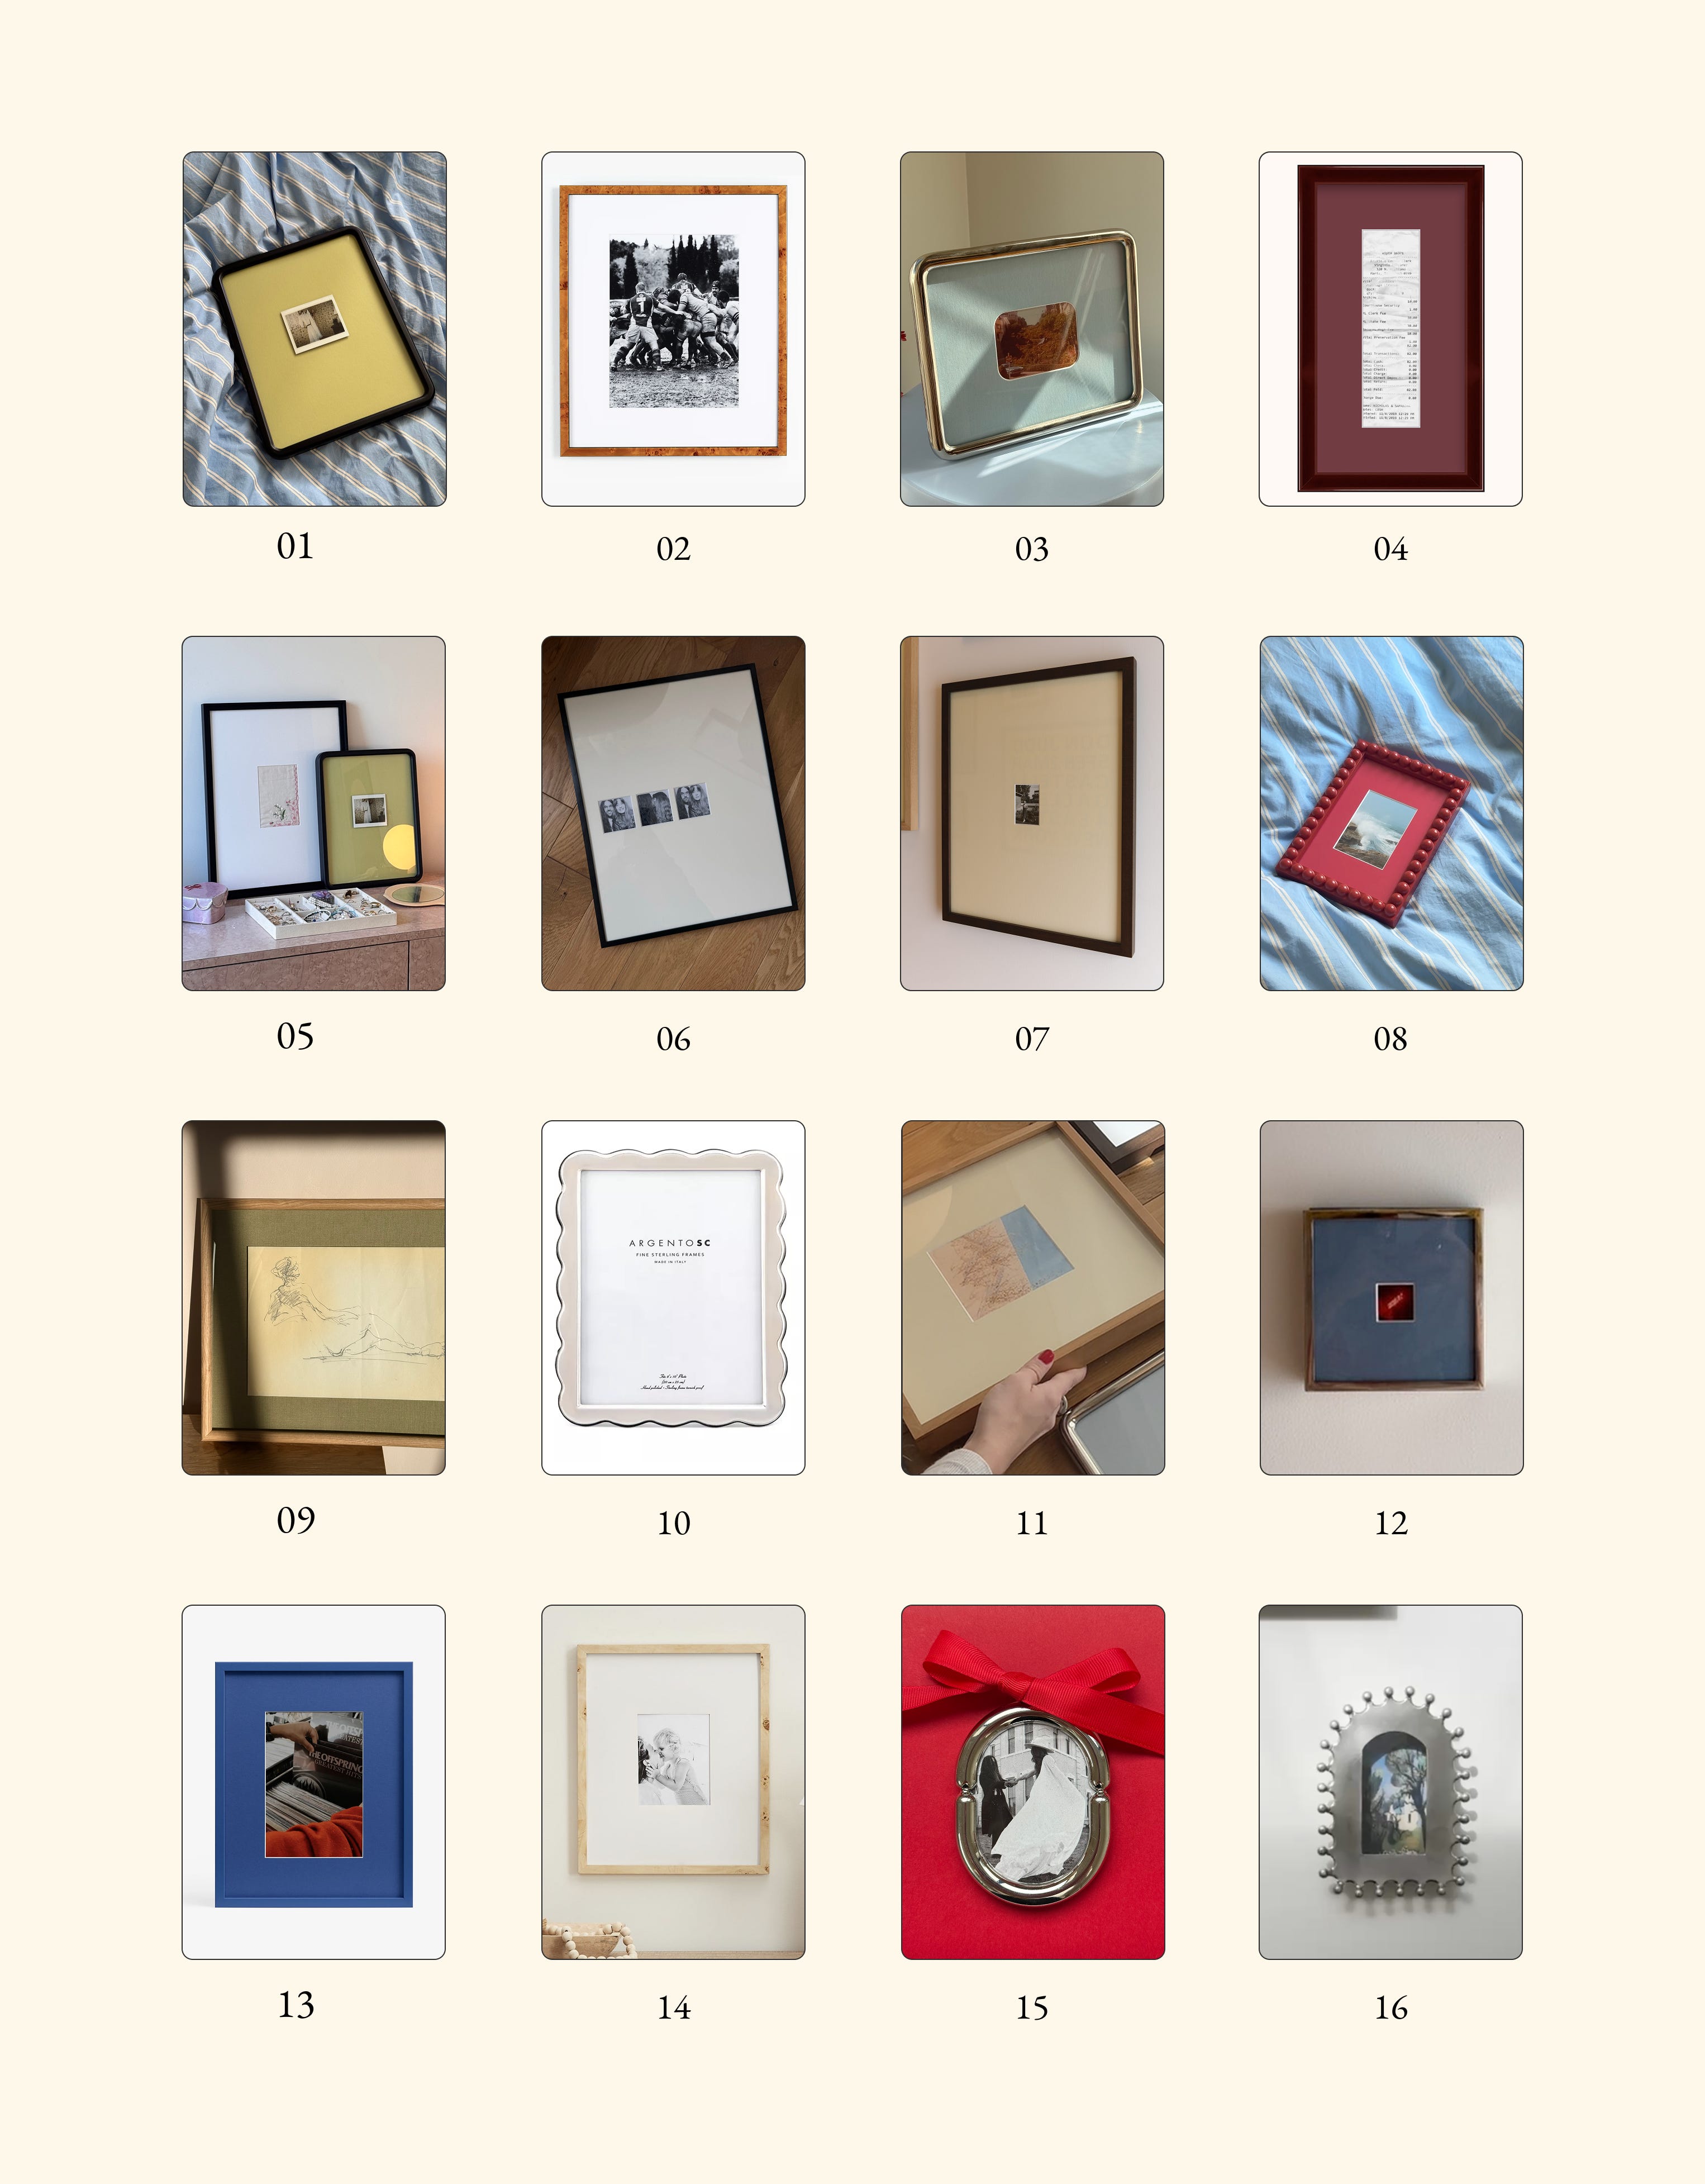
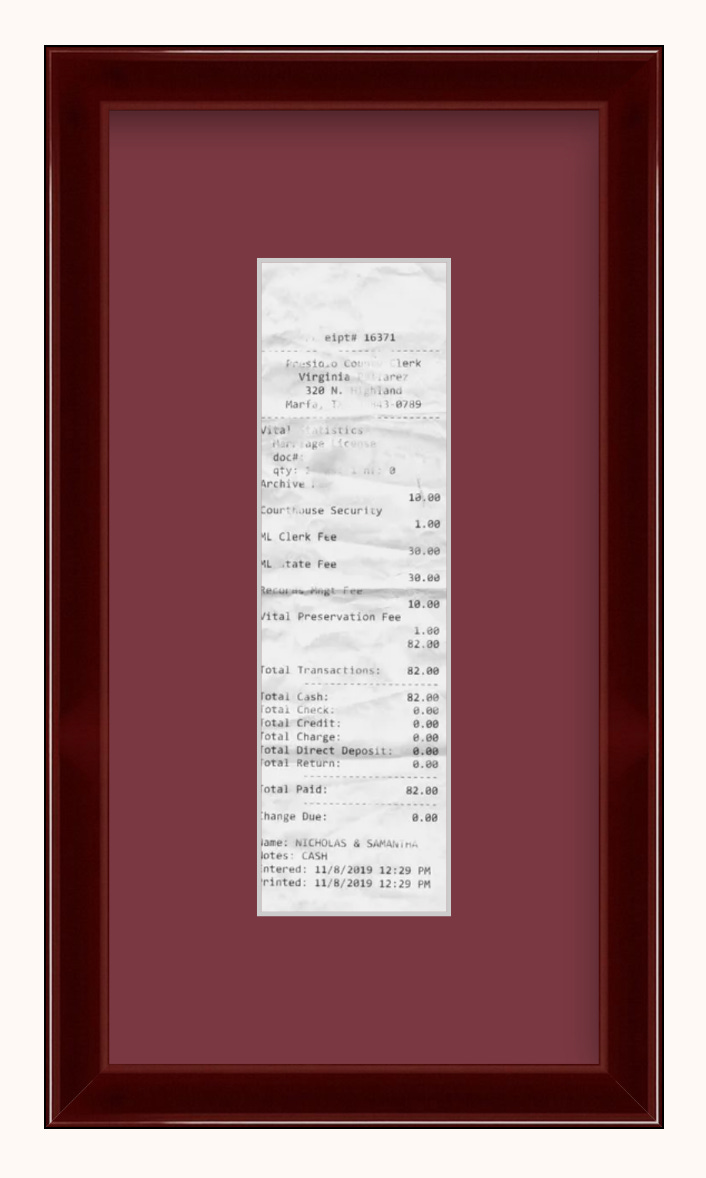
01 Set of 3 Rounded Frames | 02 Burl Wood Frame | 03 Rounded Chrome Frame | 04 Custom Maroon Frame | 05 Large 16x20 Gallery Frame | 06 Black Metal Frame | 07 Large 16x20 Walnut Frame | 08 Red Bobbin Frame | 09 Rounded Light Burl Wood Frame | 10 Scalloped Silver Frame | 11 Light Wood 12x12 Frame | 12 Tiny Silver Frame | 13 Blue on Blue Frame | 14 Maple Burl Wood Frame | 15 Chrome Frame Ornament | 16 Punched Tin Frame
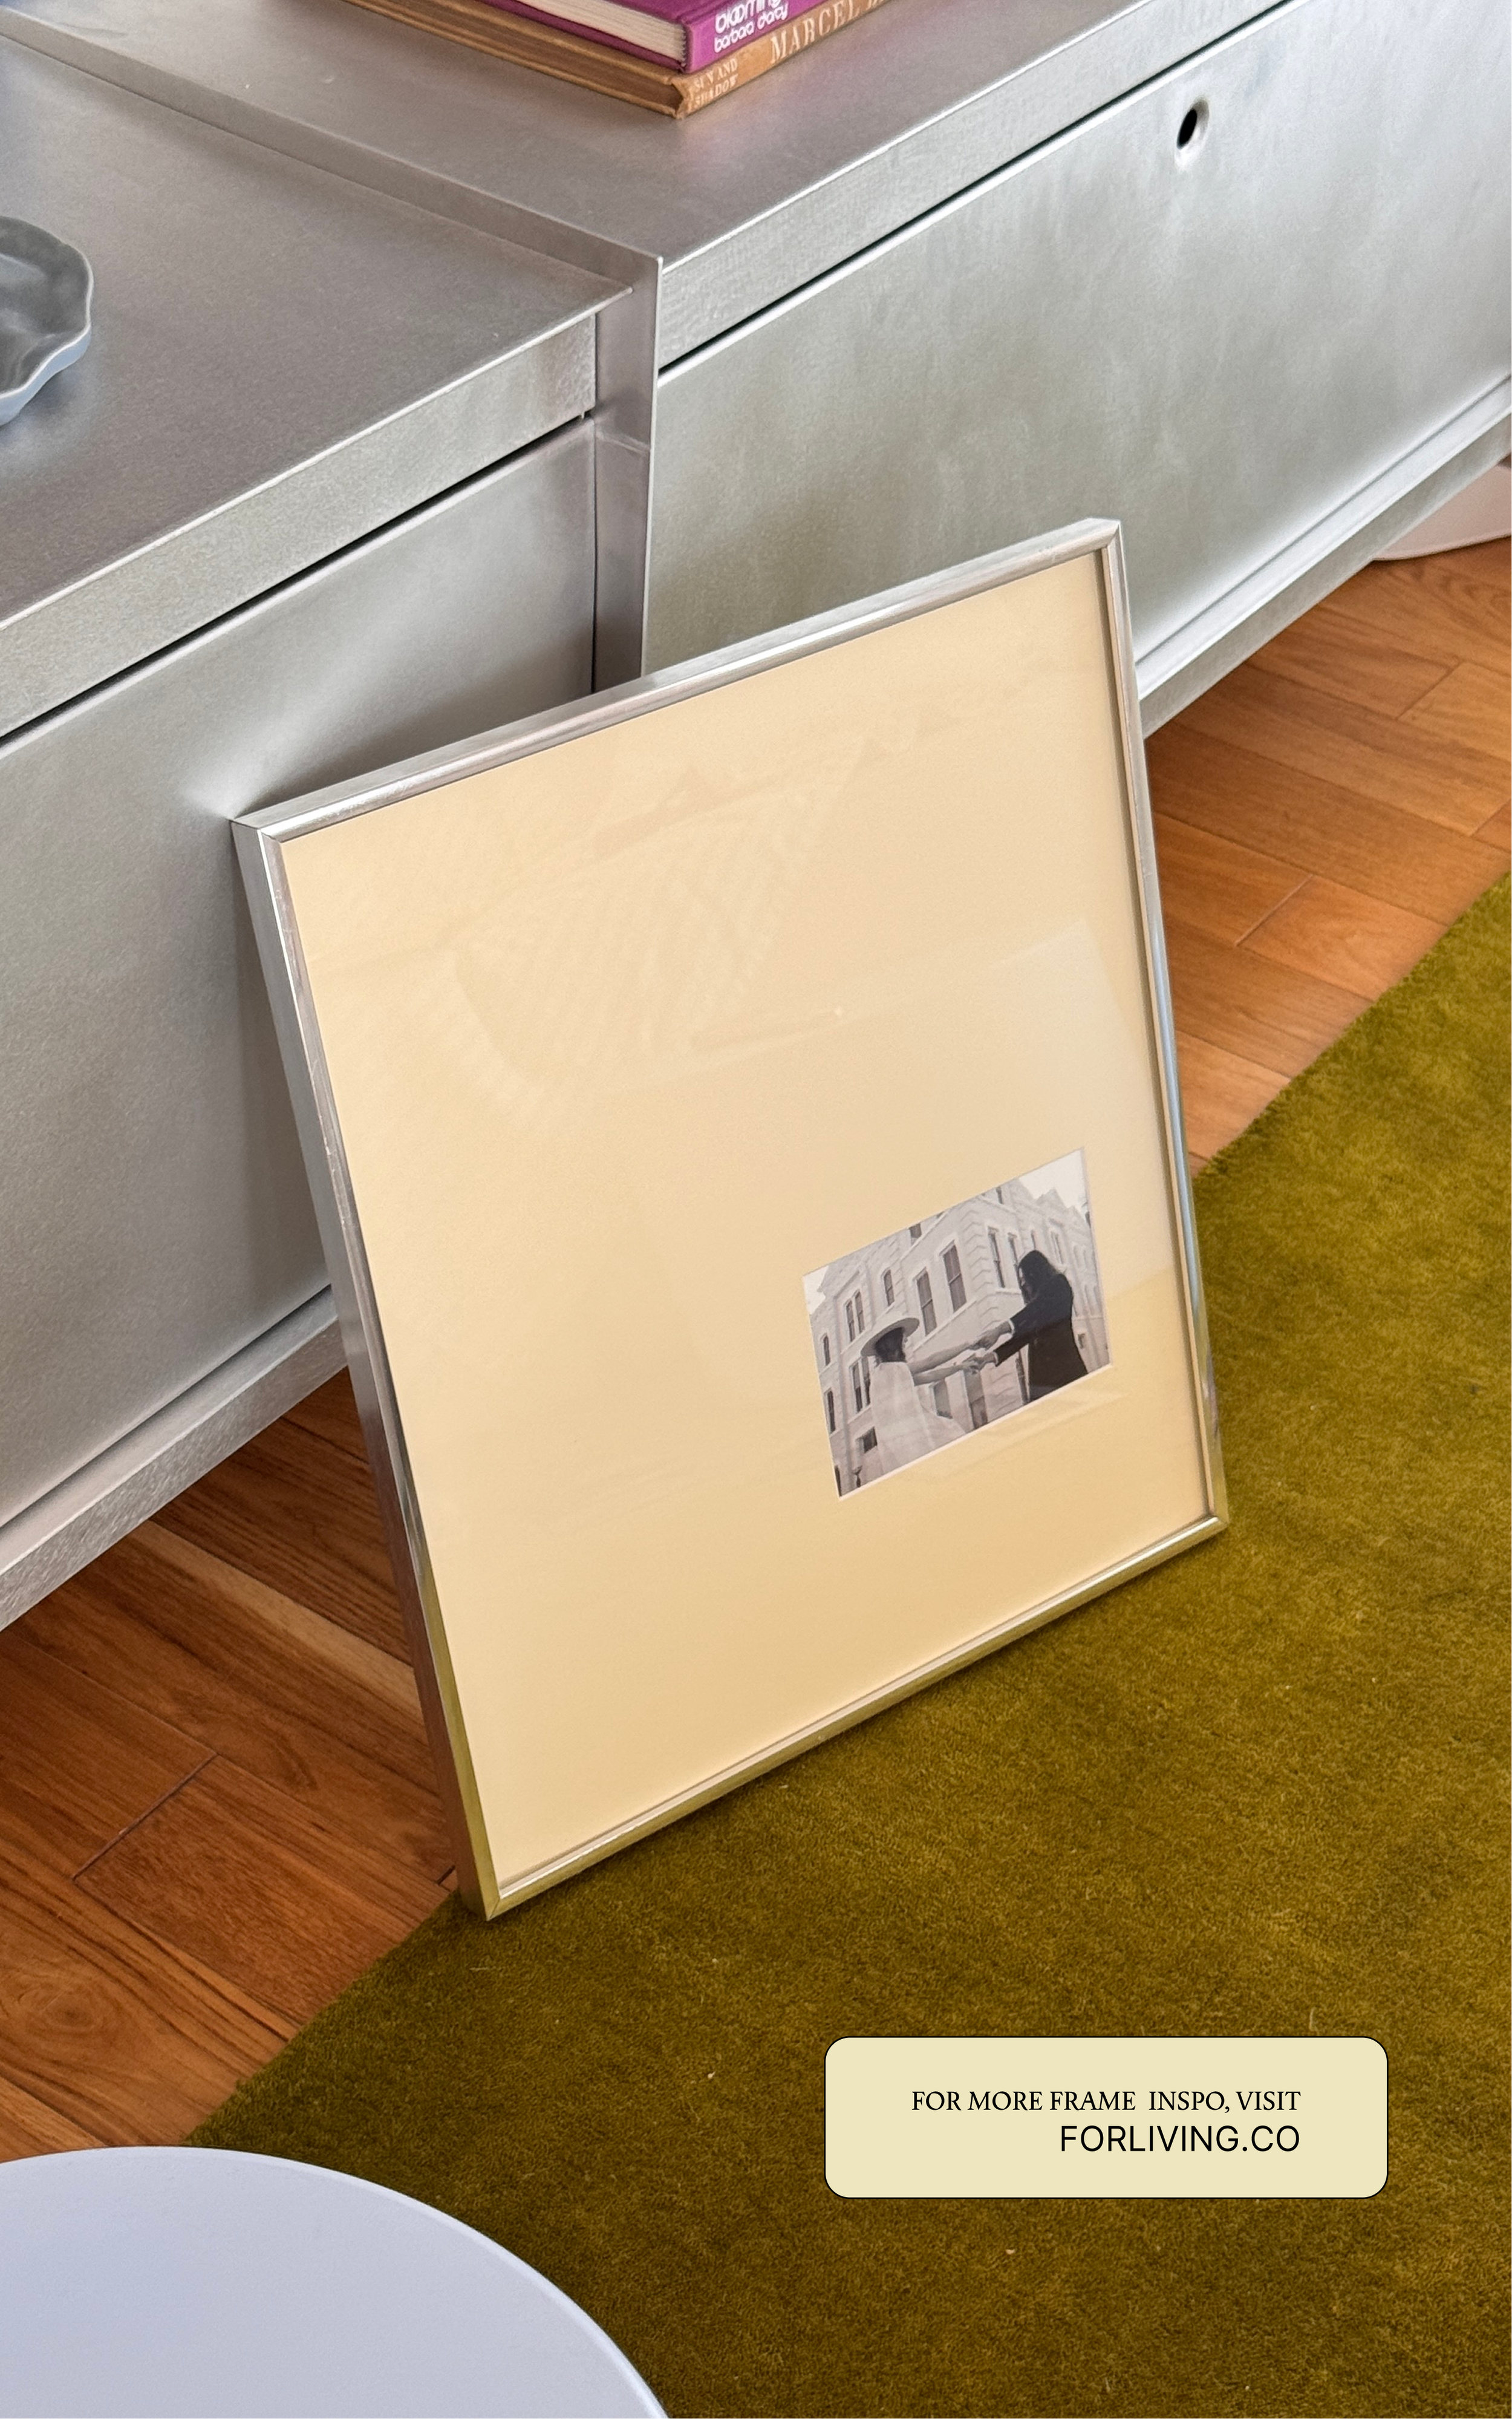
I found this frame on FB Marketplace, but this one (in the largest size) is pretty similar!
I love the rounded frame and mat color options here: a perfect choice if you want to customize your frame and have the whole thing done for you (and mailed to your door). Framebridge has such a versatile lineup of frames and while you can’t order them on their own—you have to upload a photo or mail something in—they offer tons of personalization options so you’re able to end up with something unique and interesting.
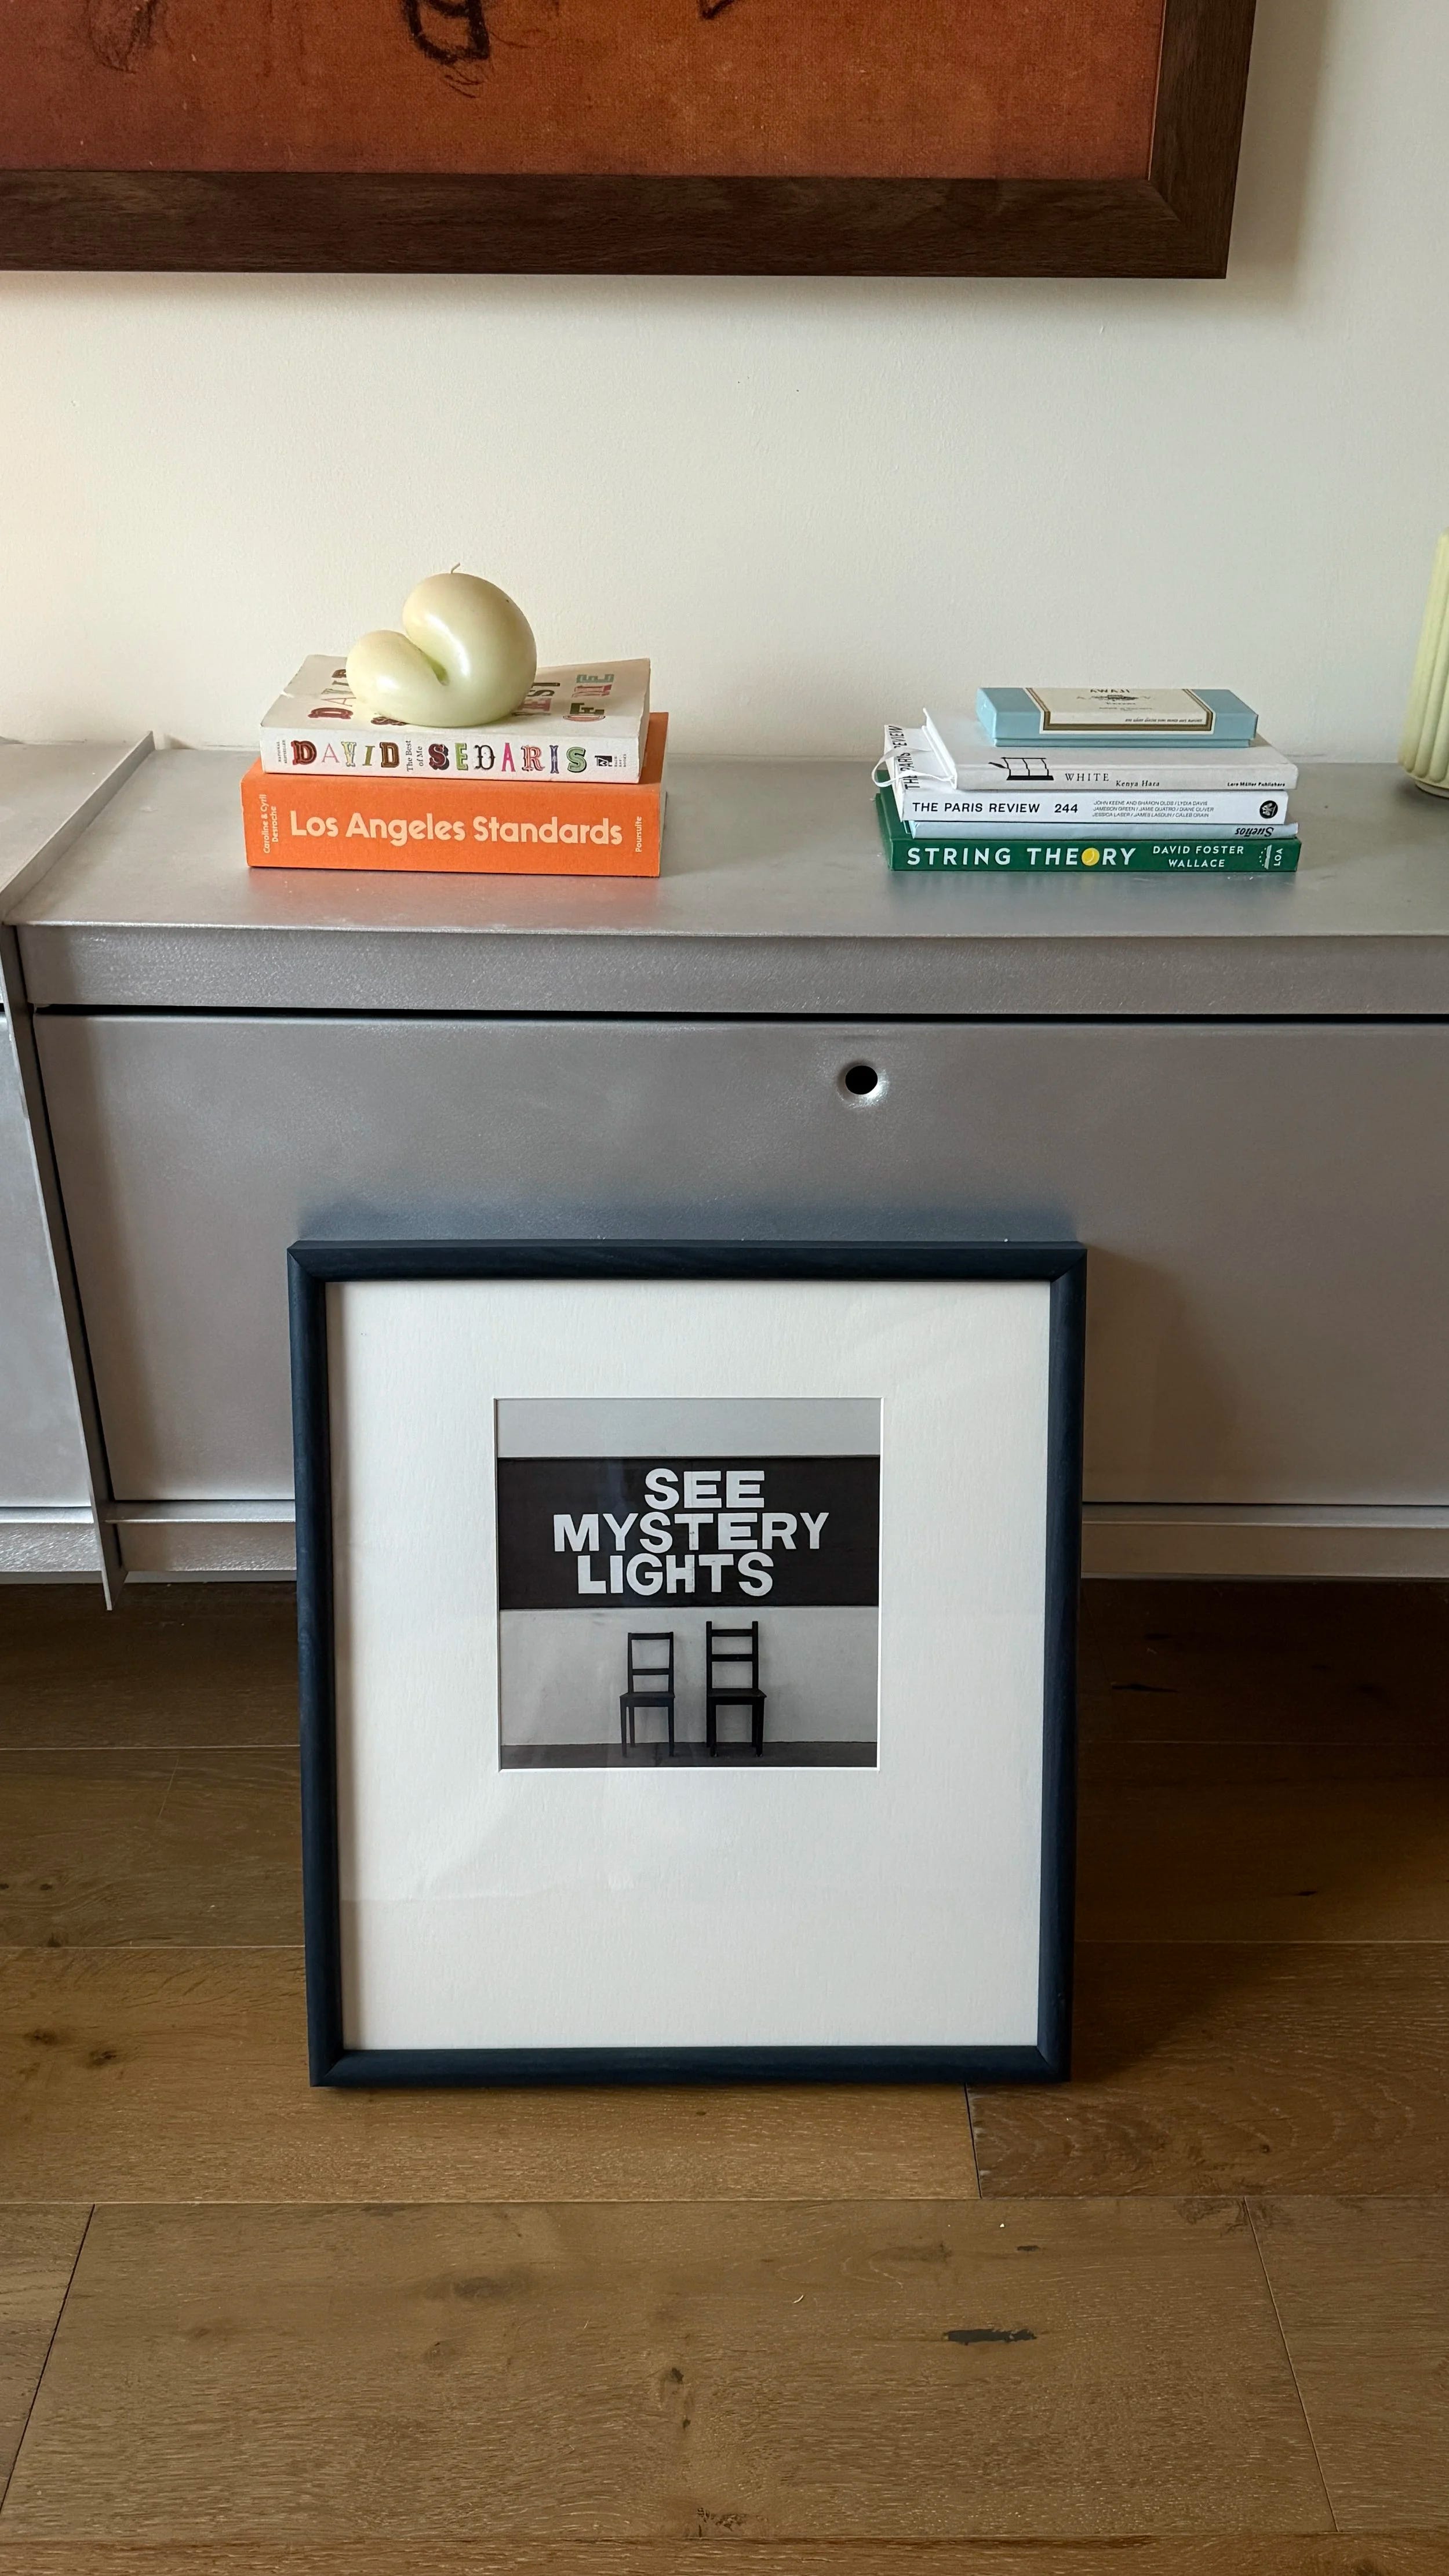
My goal with the “See Mystery Lights” photo was for it to look like an oversized polaroid. I chose this indigo walnut frame, the photo is 9” x 9”, and the final frame size was 17.875” x 19.875”. The mat was roughly 2” on top, 3” on each side, and 4-5” on the bottom. You can mess around with their customization tool until it looks how you’d like it to!
Love that there are so many colorful options here in customizable sizes.


These tiny keepsake frames are perfect for filling in the gaps: matchbook frame, polaroid frame, small square frame (what I used for the napkin), and film strip frame.
I like this black metal picture frame as a higher-end option, and this black metal frame for a more affordable option, especially when I’m framing a lot of art or photos at the same time.
We’re opting for some more visually interesting frames for the rest of the queue. I love this red on red frame and mat combo if you’d rather place a single order and move on with your day, which would be so valid.
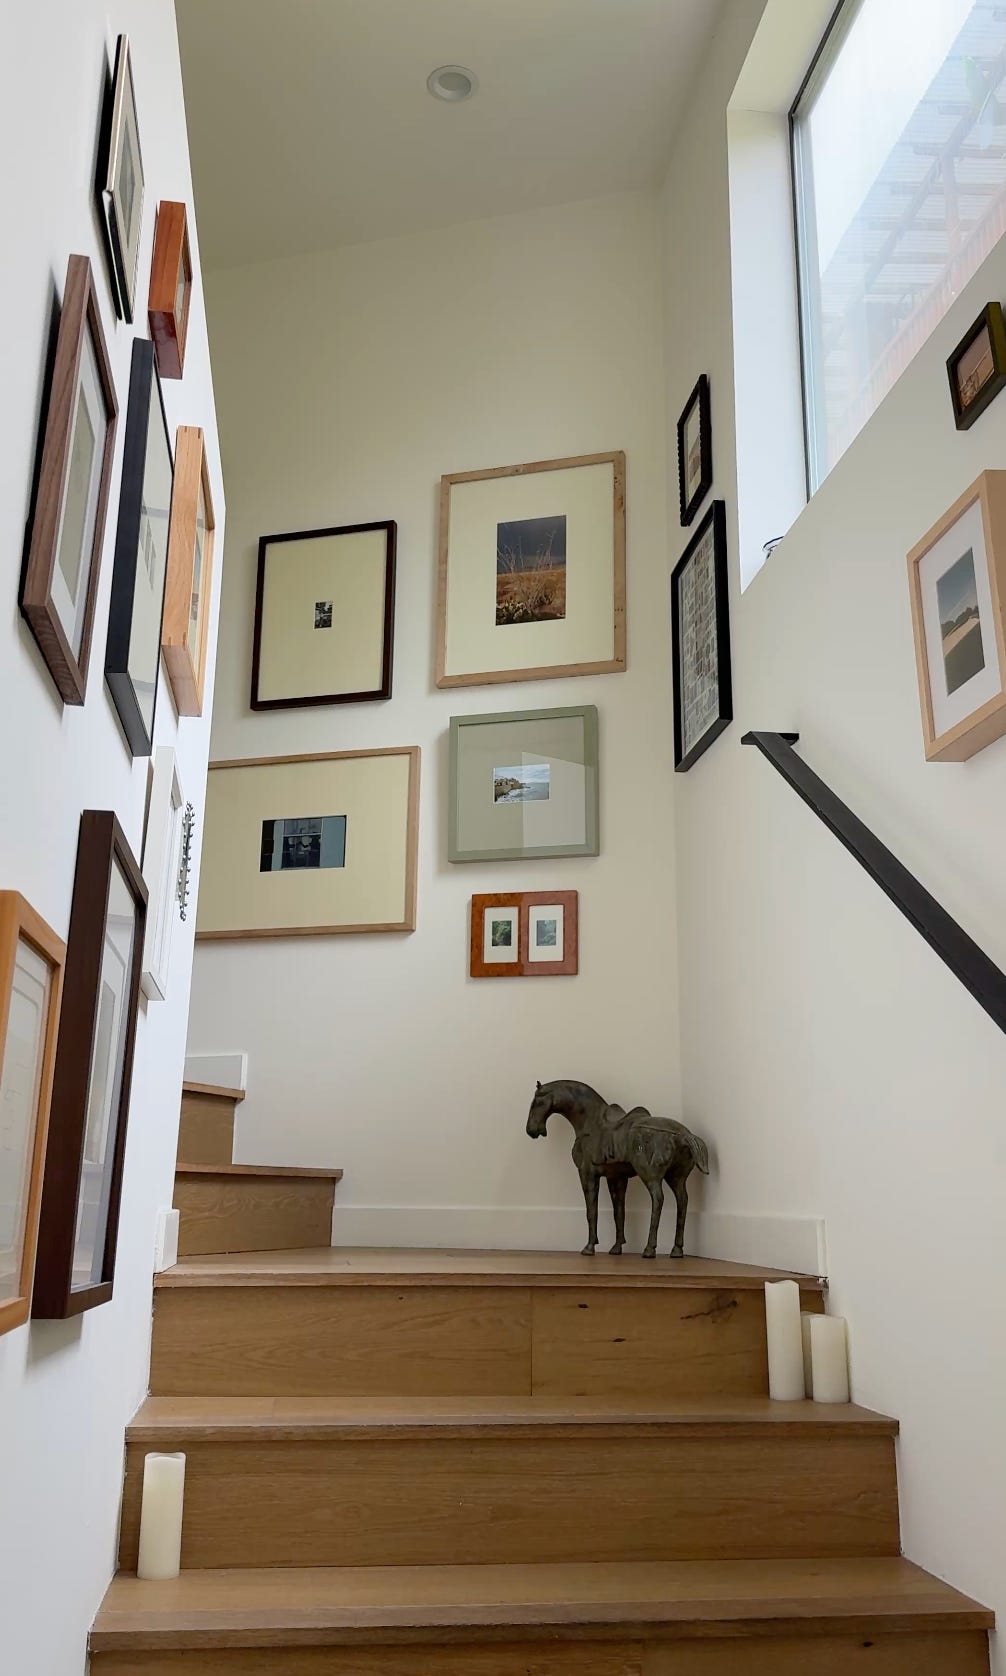
LATEST UPDATE
The most recent state of the gallery hallway in June 2026 — still a long way to go! Hoping to find more vintage frames
FRAMING TIP
The larger the frame and the smaller the photo, the more each piece feels more like art and a unique expression of your own. I like giving vintage photos, notes, tickets and receipts the space to stand out with a wider mat.
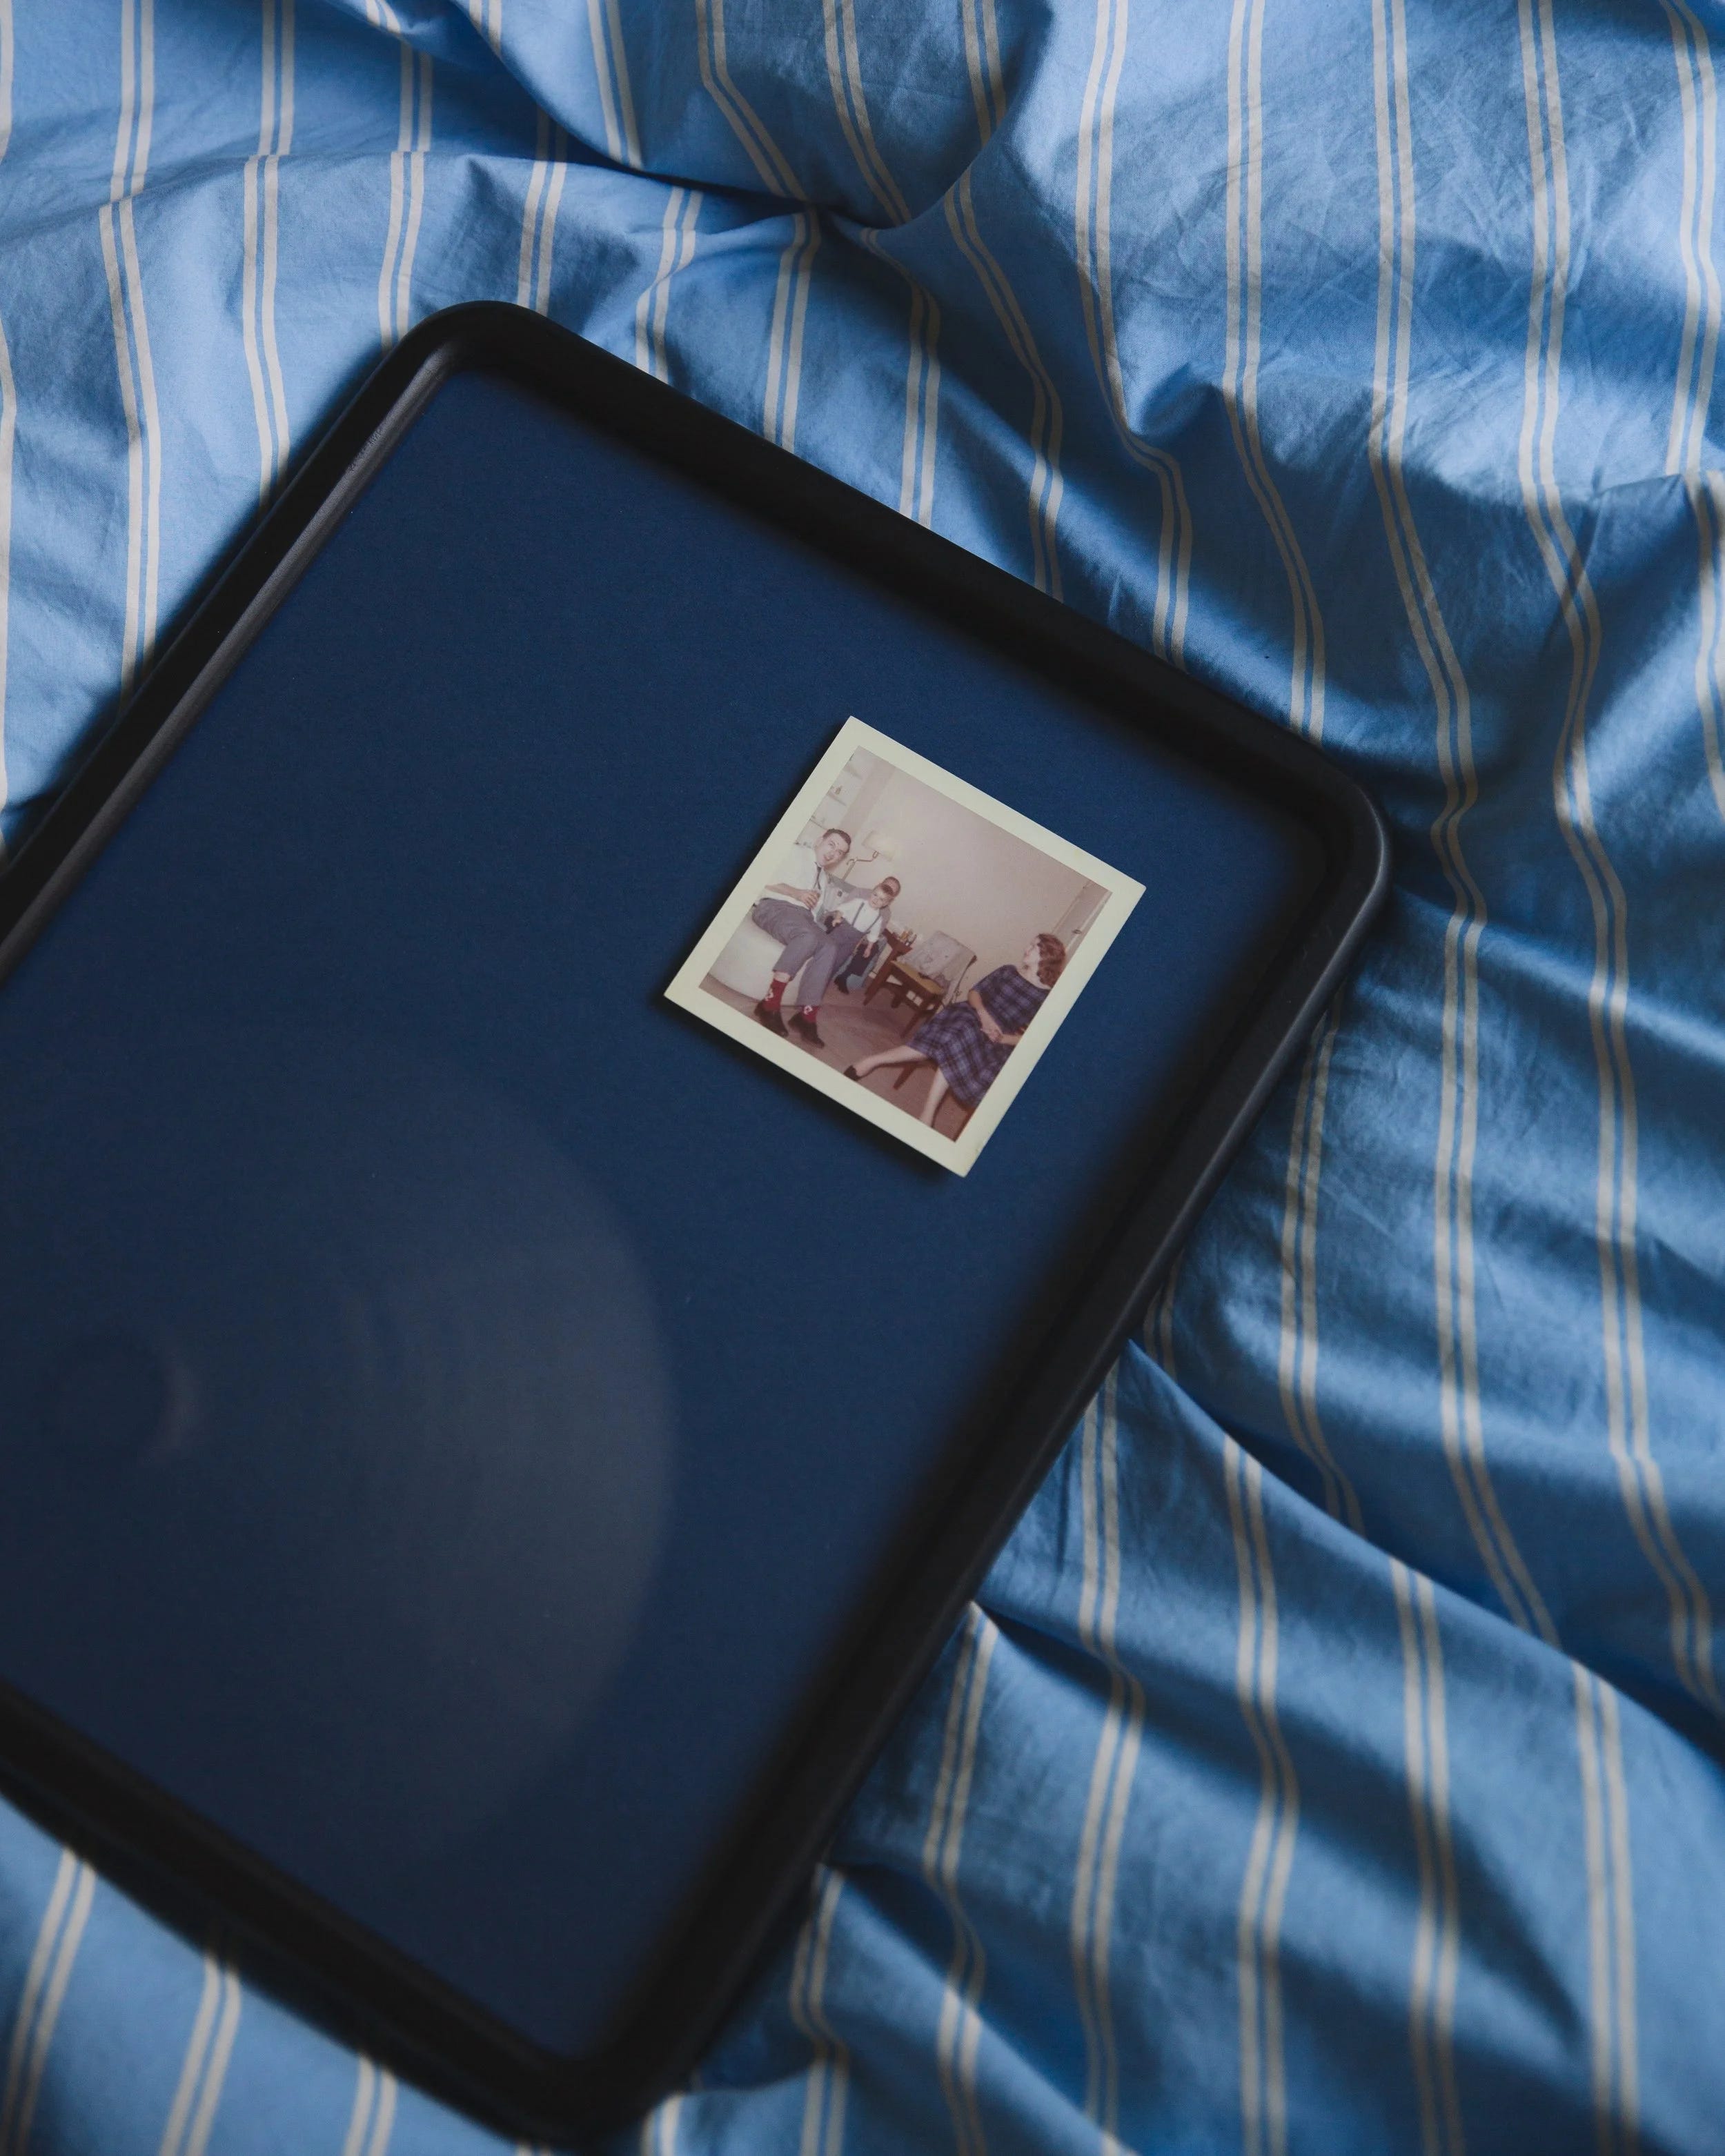
SUPPLIES FOR FLOAT-MOUNTING
Other supplies I use: a cutting mat, blank mat boards, an x-acto knife, and foam core.
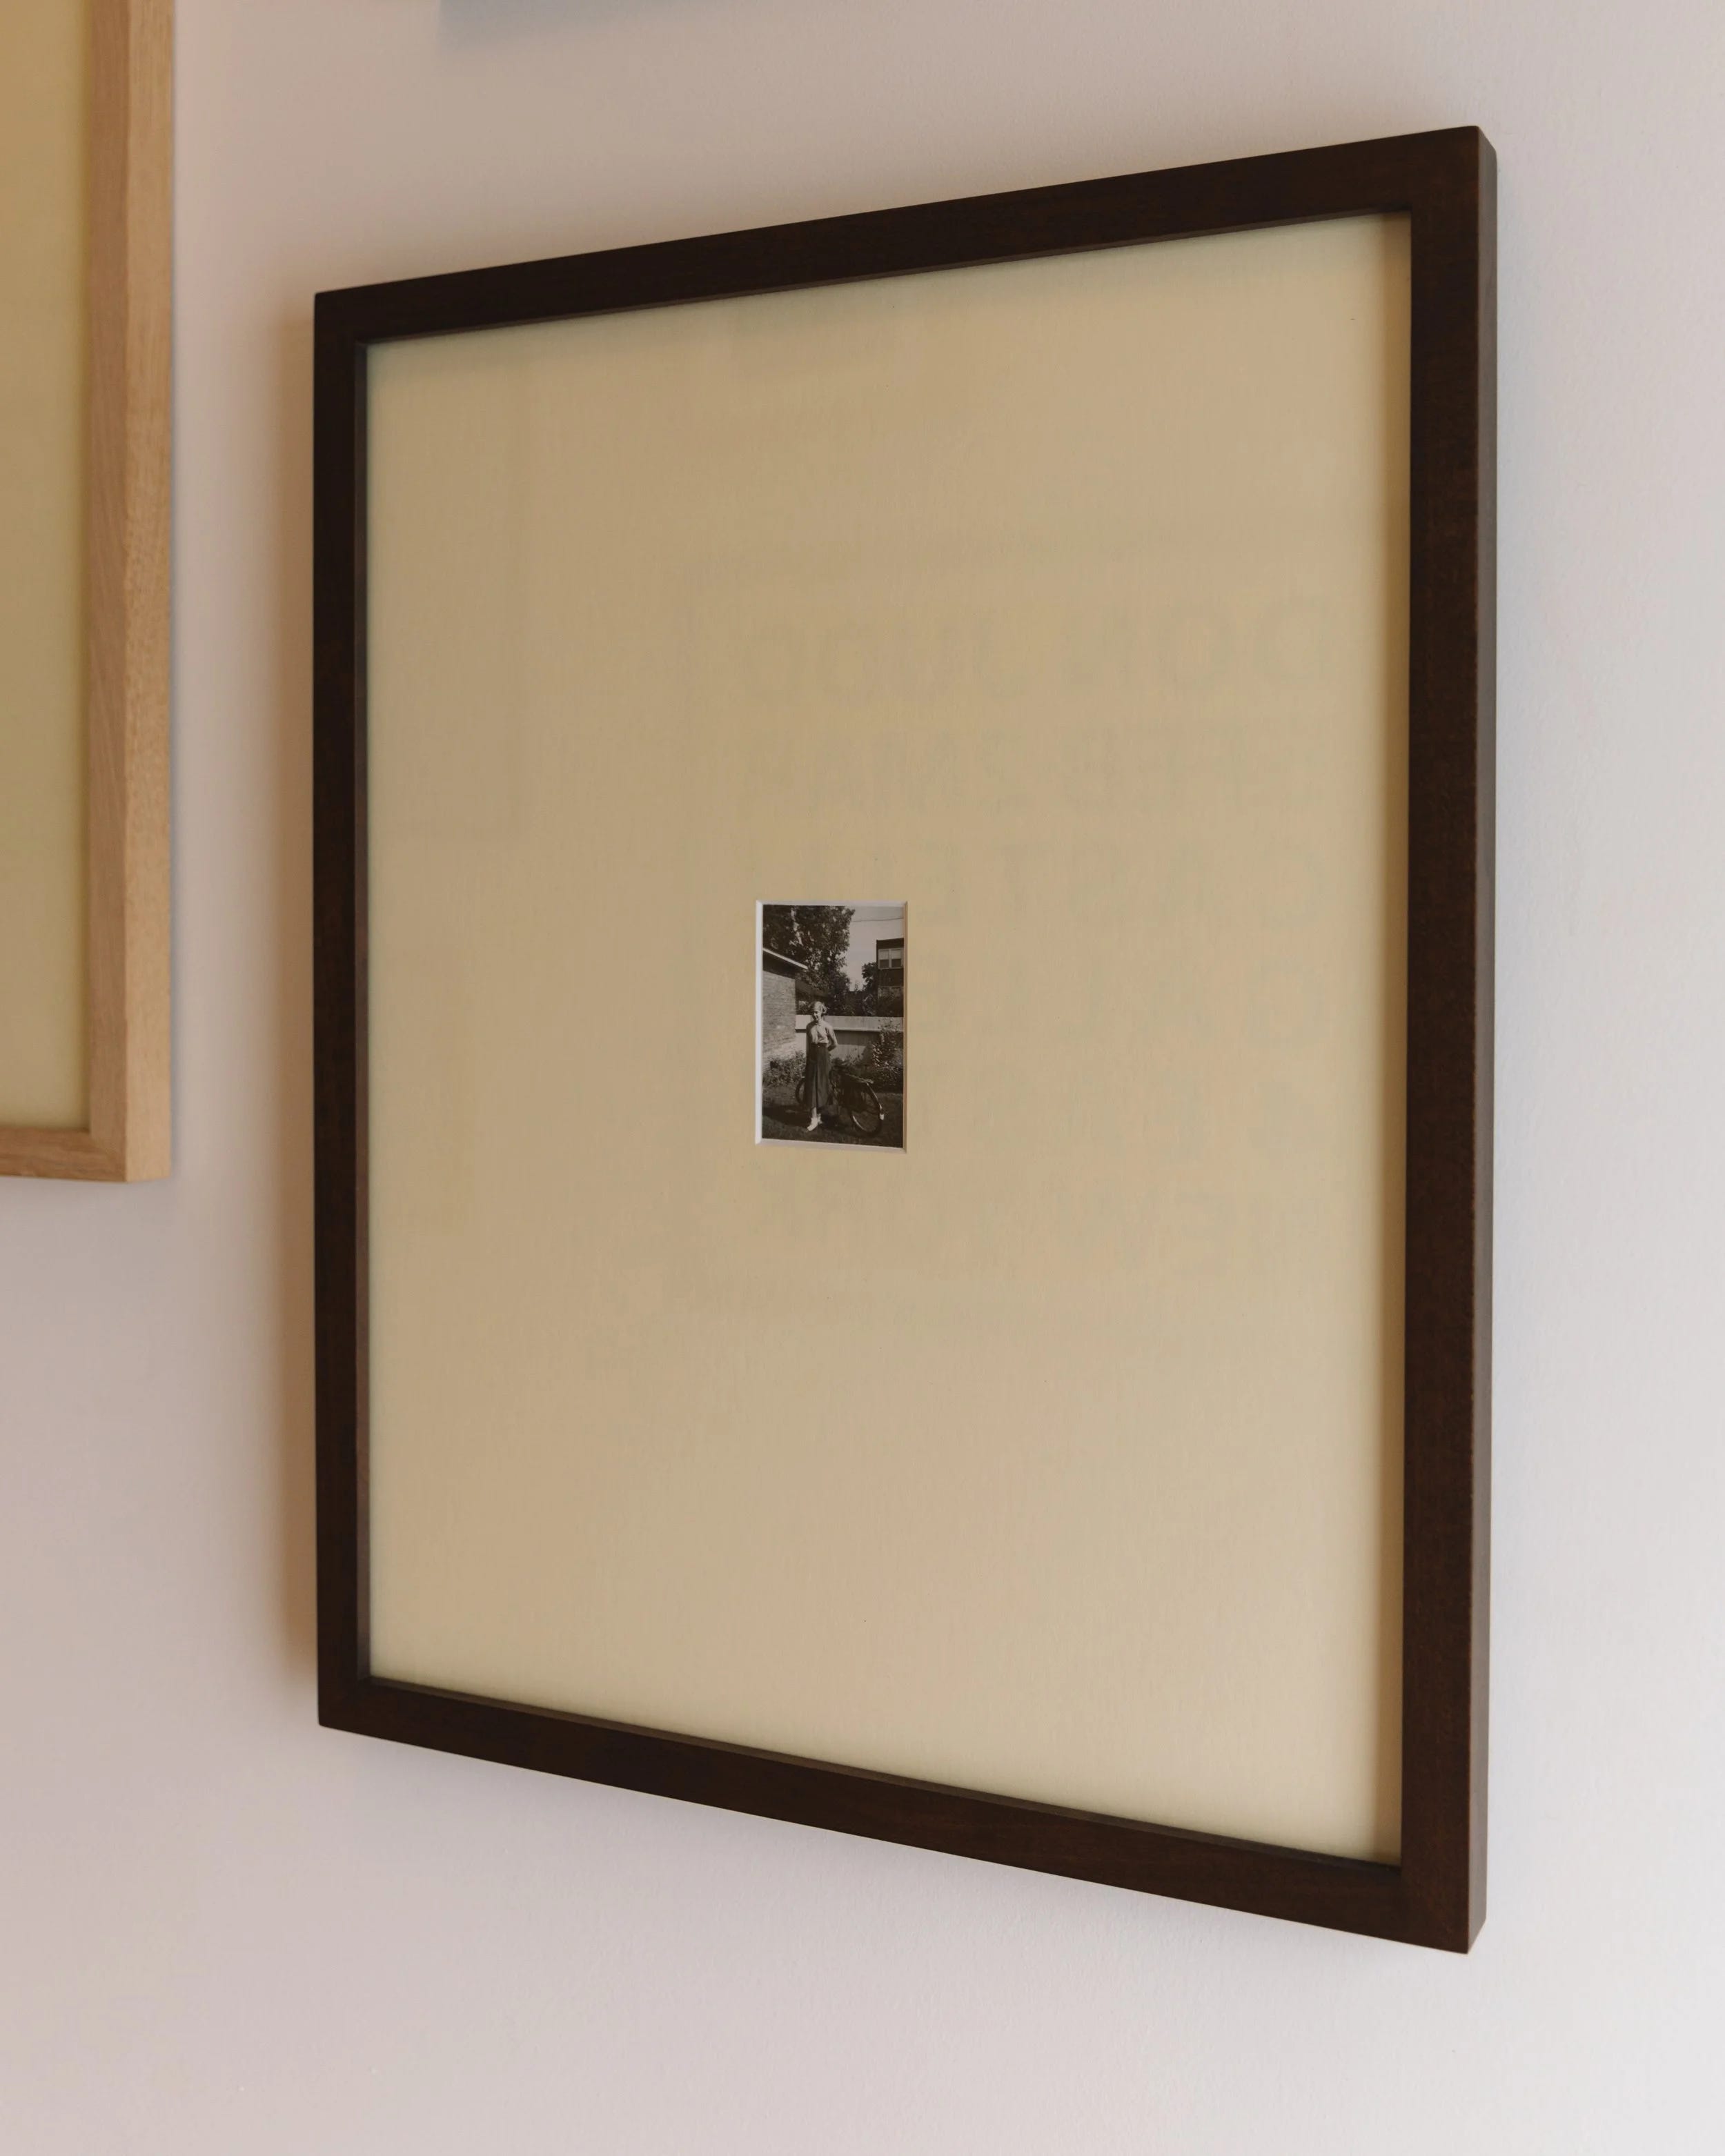
This 16×20 walnut frame is pictured above. For more recent additions, head over to this post!
ORIGINALLY PUBLISHED JANUARY 4TH, 2025
Disclosure: I may earn a commission at no extra cost to you if you decide to buy any of the products I refer to and promote. I only share products I really love. All opinions are my own.
Thank you, Sam. When I took photography classes, I made mats/frames like this. Really small photo, large mat/frame. I LOVE it. It transfers well with photos you want the viewer to have an intimate view. You have a great eye, and work with quality materials. So glad to have found you. Fantastic☮️
These are really something special.